
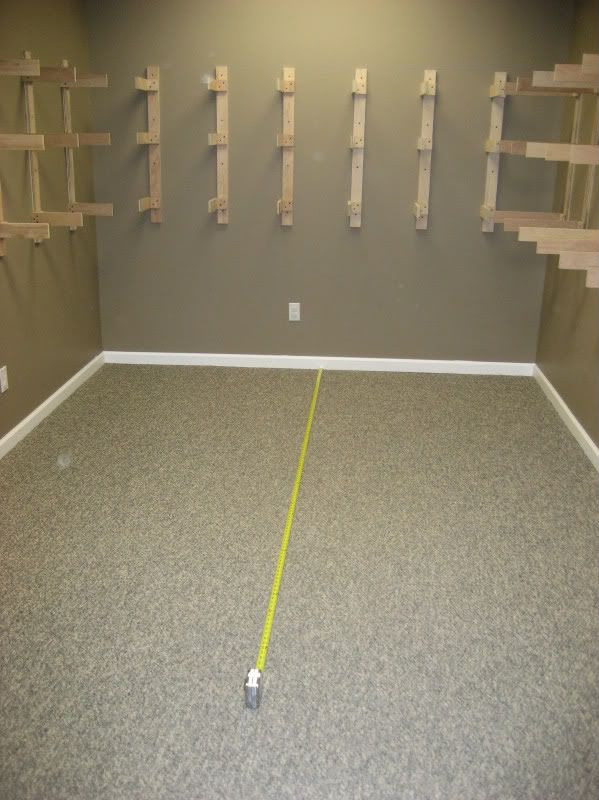
Here is a "before" picture showing the layout room prior to starting construction of the peninsula. The peninsula will come off of the far wall towards the camera in the same orientation as the tape measure:
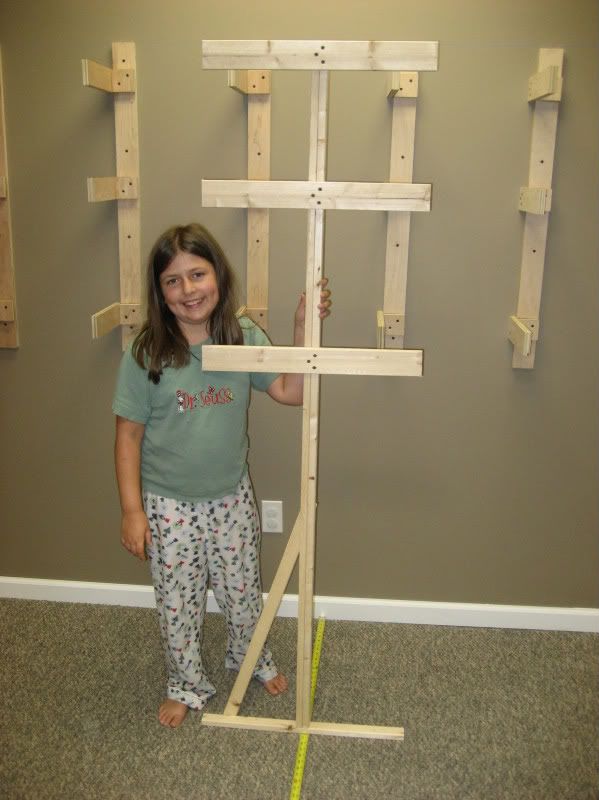
I built a single mock-up of a peninsula support using inexpensive pine boards to make sure everything would fit together before I built the actual permanent supports. My daughter lends a helping hand in making sure everything looks OK:
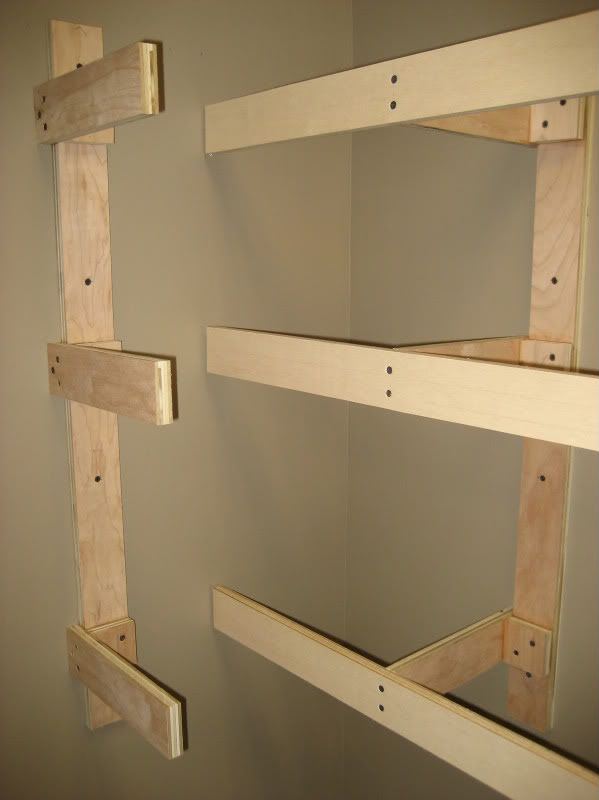
I first had to put the front boards on the wall brackets along the south wall since this would not be possible once the peninsula was in place. Also, these front boards will be used as anchor points to connect the peninsula to the rest of the benchwork:
I simply let the front boards cantilever off towards this corner to allow for future support for track risers or scenery in this area:
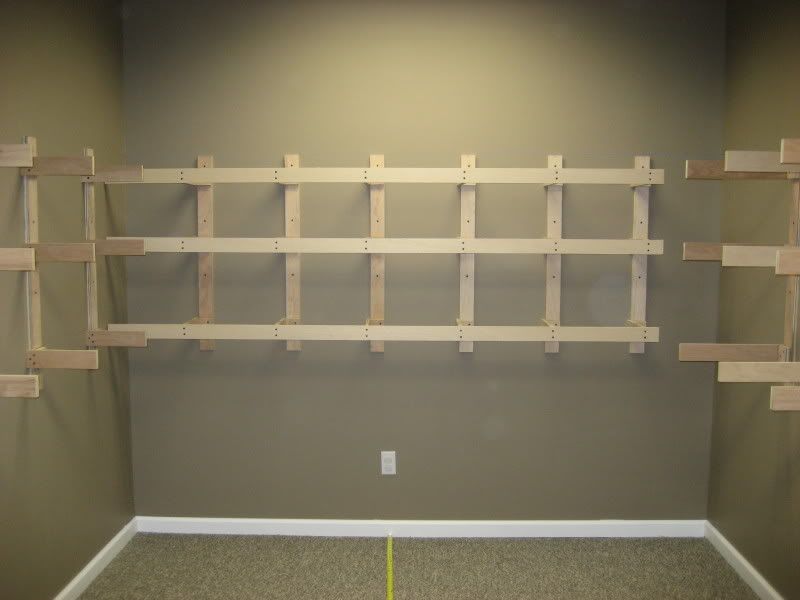
Next, I ran a 1x2" from the top front board out to the mock-up support. This temporary board will be used to correctly space the supports at 16" intervals along the length of the peninsula:

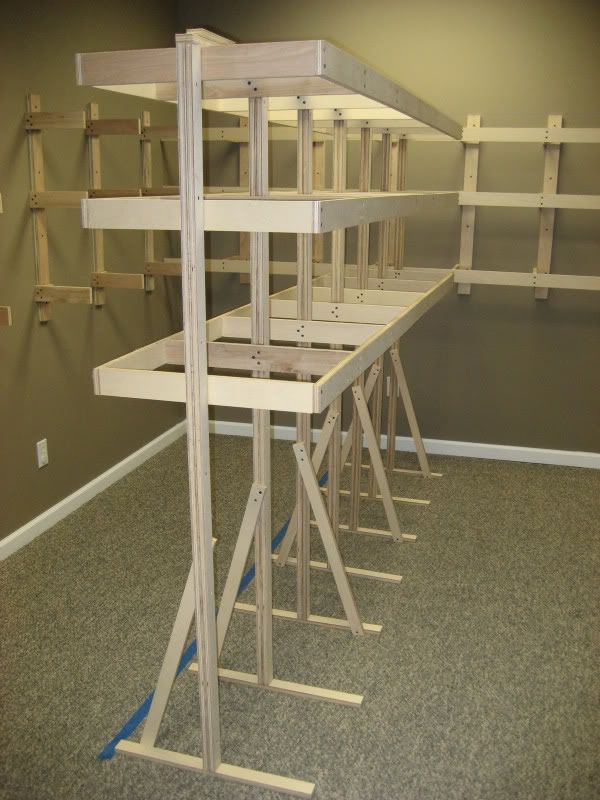
The temporary spacer board allowed for the peninsula to come together quickly. Here are the first four supports in place (click here for a detailed article on how I built the individual peninsula supports):

I had originally planned to tie the peninsula in to the rest of the benchwork by running the front boards along the peninsula all the way back to the front boards on the south wall. However, since this would be about an 8'-6" run, it seemed like I would have to do quite a bit of splicing on each of the peninsula front boards (which are only 8' long). Instead, I took the end peninsula support and rotated it 180 degrees so that the front boards on the peninsula would be 94 1/2", or just a shade under 8' long. This would mean I could use six trimmed 1x3s to make the peninsula front boards. Here is the first front board installed on the peninsula. Note that the support closest to the camera is facing the opposite direction from the others to allow 8' long 1x3s to be used for the front boards:

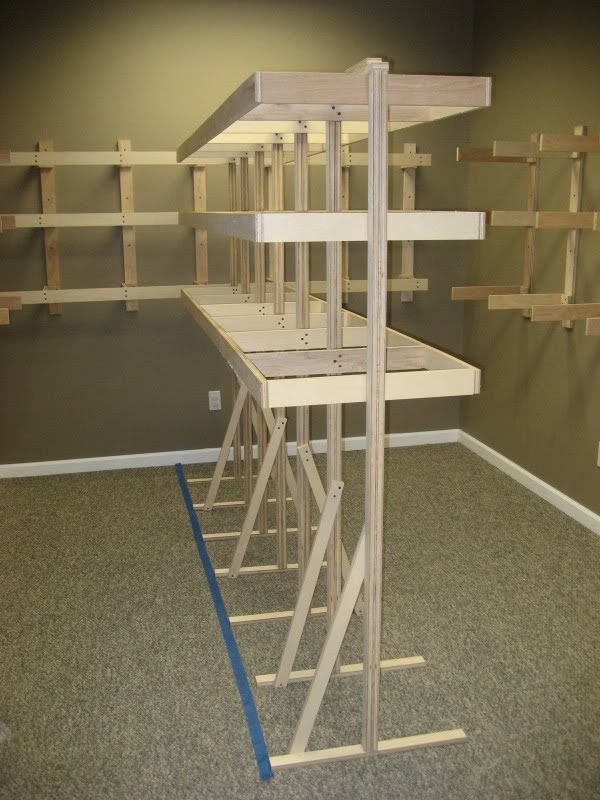
The blue painters tape provided a straight line for positioning the footers of the peninsula supports. After I put this line down on the carpet, I realized that the second support from the end was not coming close to lining up. Closer inspection revealed that the footer is about 2" off center from where it joins to the post. I'll probably need to trim off the opposite side since it now juts out into the aisle, but overall I'm pretty happy that this is the first significant blooper! You can clearly see the offending support in this photo:

Here is another view of the end support that clearly shows how it faces in the opposite direction from the others to allow 8' long (actually 94 1/2" long) 1x3s to be used for the front boards:

Here is the completed peninsula with all of the front boards installed. This side will feature Ladds, TN on the middle level and Acworth, GA on the lower level...
...while this side will feature Anderson, TN on the middle level and North Junta (Cartersville), GA on the lower level:
With all of the front boards on, I had to permanently attach the peninsula to the remainder of the benchwork. Remember at this point, the only connection point was the 1x2 temporary board running across the tops of the supports. To connect the peninsula, I first unscrewed the temporary top board and slid the entire peninsula off to the side:

Next I attached a 1x2 cleat to each of the front boards along the south wall:

I then slid the peninsula back in place and attached the peninsula using a pair of short 1x3s running from the cleats to the first peninsula support. This was done on all three levels and resulted in a sold connection. Here is a closeup of the connection at the lower level:

While the peninsula is now quite sturdy where it attaches to the wall end, it is a bit wobbly (top heavy) at the free end where it will attach to the helix. This was expected and will be resolved by adding a pair of braces across the aisles between the peninsula and the adjacent benchwork. Overall I am very happy with the progress of the construction so far--it took only 23 days to go from an empty room to where I am now. However, the next phase of construction--the helix--is sure to provide the stiffest challenge so far.
.


