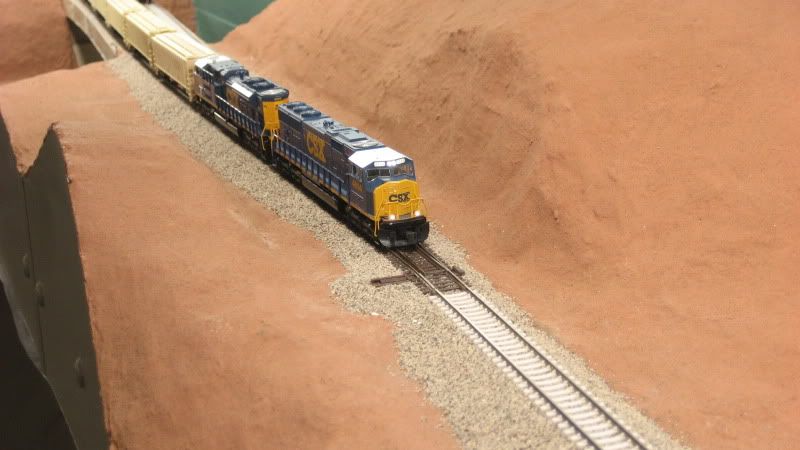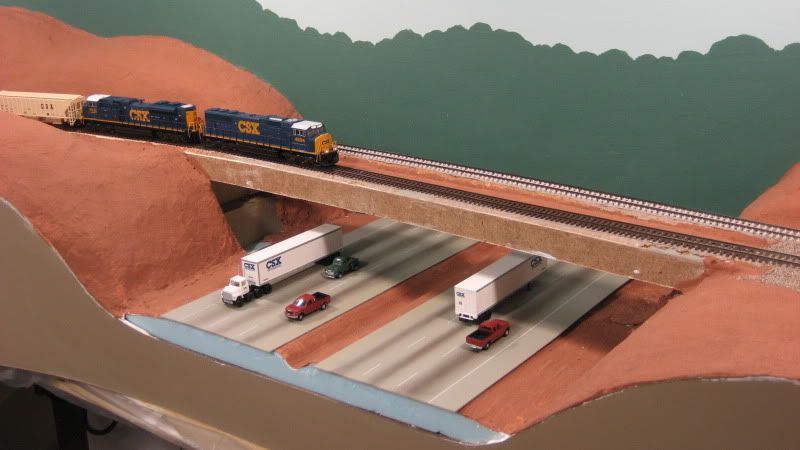
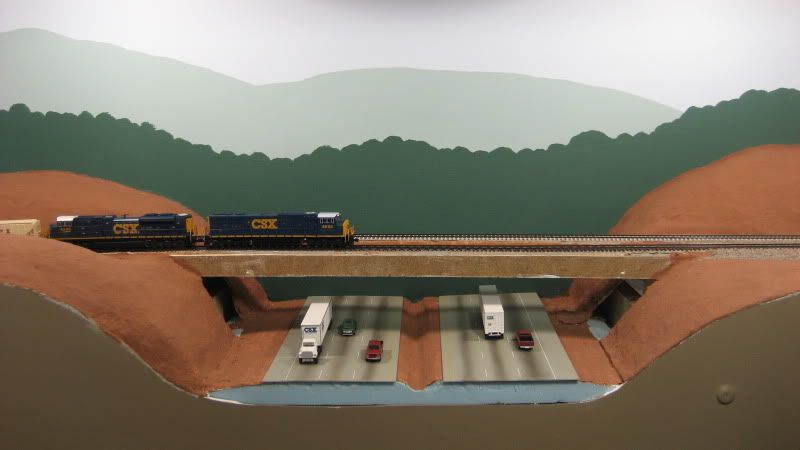
The CSX W&A Subdivision crosses I-75 near Emerson, GA. Before modeling the actual overpass, I modeled the divided roadway that passes below. This stretch of I-75 consists of a divided highway, with three lanes of traffic in each direction. The results of this project can be seen in the photo above; the detailed step-by-step instructions are included below.
» Steps
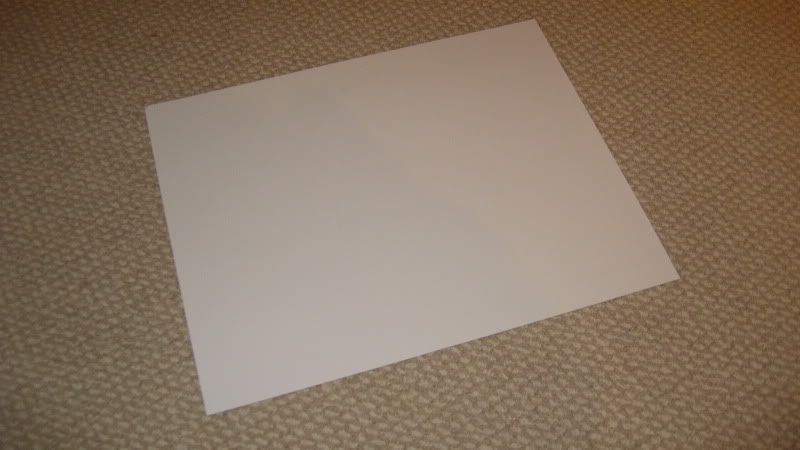
Step 1 The highway is constructed using a common plastic FOR RENT sign that can be found at just about any hardware store or home improvement center. The following 18" x 24" sign was purchased from The Home Depot for less than $3.00, not bad considering a similar size sheet of styrene at the hobby shop would easily cost much more:

Step 2 Although the front of the sign has multi-colored printing on it, the back of the sign is plain white. This makes the sign an ideal material for modeling projects such as roads and highways:
Step 3 Each side of the highway has three lanes of traffic and an emergency lane on the right. I decided each lane would be 1" wide and the emergency lane would be 3/4" wide. With an additional 1/4" along the left side of the roadway, this resulted in a total width of 4" per each side of the highway. The depth of the highway underpass scene is 12", so I cut two 12" x 4" sections out of the plastic sign to use as the roadways. I painted the surface of the roadways using Testors Dark Aircraft Gray flat spray paint. This color was suggested by Dave Vollmer and is what he uses for his roads on his N-Scale Juniata Division layout. Here is one of the roadway sections after painting:

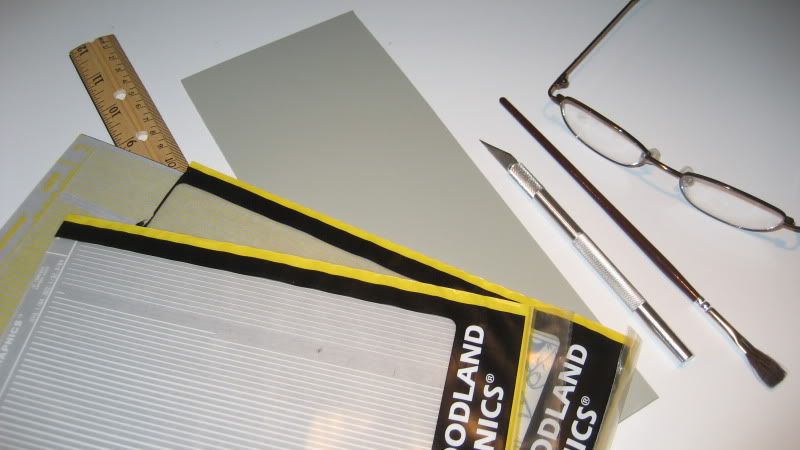
Step 4 The following photo shows the tools I used to add the traffic markings to the painted roadways:
- Woodland Scenics MG760 Dry Transfer Stripes (white)
- Woodland Scenics MG763 Dry Transfer Stripes (yellow)
- Ruler
- Hobby Knife with sharp blade
- Paintbrush with blunt handle (or burnishing tool)
- Reading glasses (this is the first time I have ever used this modeling tool)
Step 5 I begin applying the traffic markings by applying the solid yellow line along the left edge of the pavement. A solid line denotes oncoming traffic is to the left of this line, so be sure the side of the roadway with the yellow stripe is adjacent to the highway median. I applied the stripe 1/4" from the left side of the roadway. I used the 1/64" wide stripes on my roadways, which is a bit too narrow for the 4" wide stripes used on the prototype but looked best to the naked eye. Here is the first section of yellow stripe applied to the left side of one of the roadways:
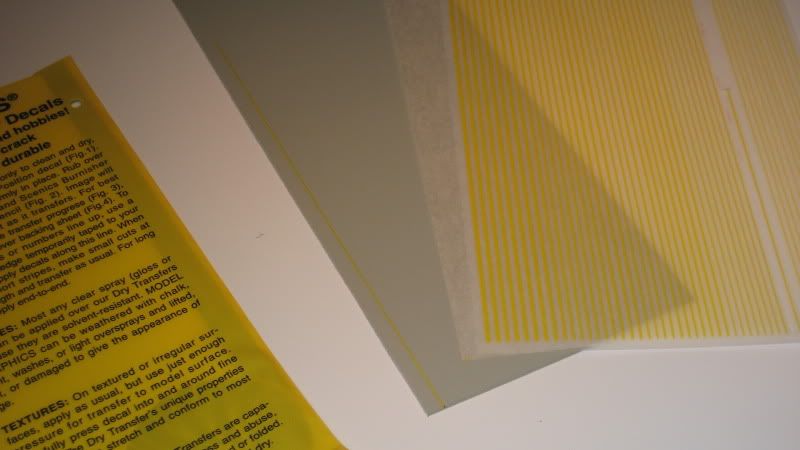
Step 6 On the prototype, the dashed white lines separating the travel lanes are 10' long and spaced 30' apart. In N-scale, this scales down to 3/4" long stripes spaced 2.25" apart. The length of the stripes looked good, but the spacing was way to much when viewed with the naked eye. I settled on 3/4" long stripes spaced 1" apart. With my 12" long roadways, this allowed six stripes to be placed between each lane. This photo shows the results of applying the first row of lane stripes. As with the solid yellow stripe, I used the blunt back end of the paintbrush to burnish the stripes to the roadway. After applying the stripes to the roadway, I place the sheet of translucent backing paper (that comes in each pack of dry transfers) over the stripes and perform a final burnishing to make sure the stripes are affixed properly:

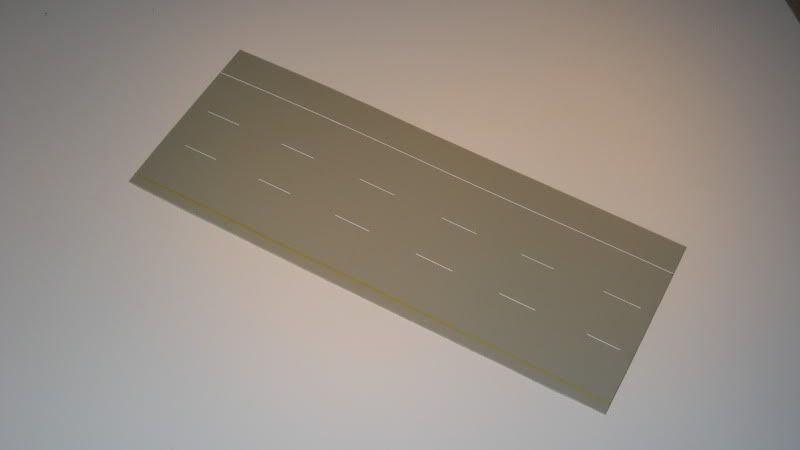
Step 7 Here is a finished section of roadway after applying all striping. The solid yellow line is placed 1/4" from the left edge of the road, the two sets of dashed white lane divider stripes are placed 1" and 2" to the right of the yellow stripe, and the solid white line is placed 3/4" from the right edge of the road:
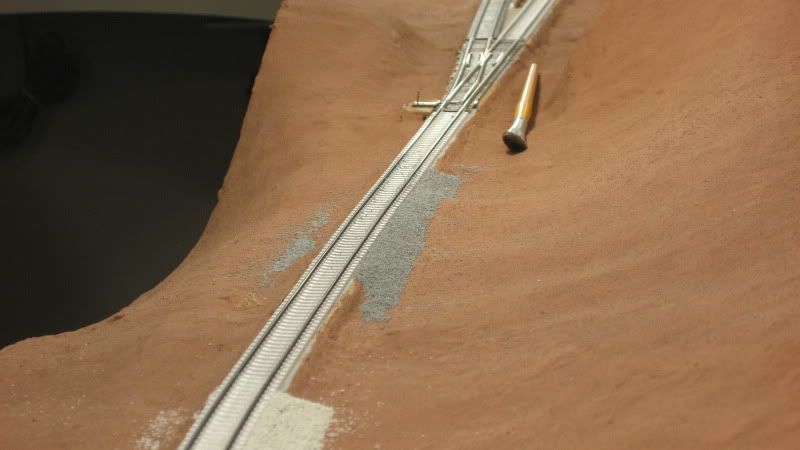
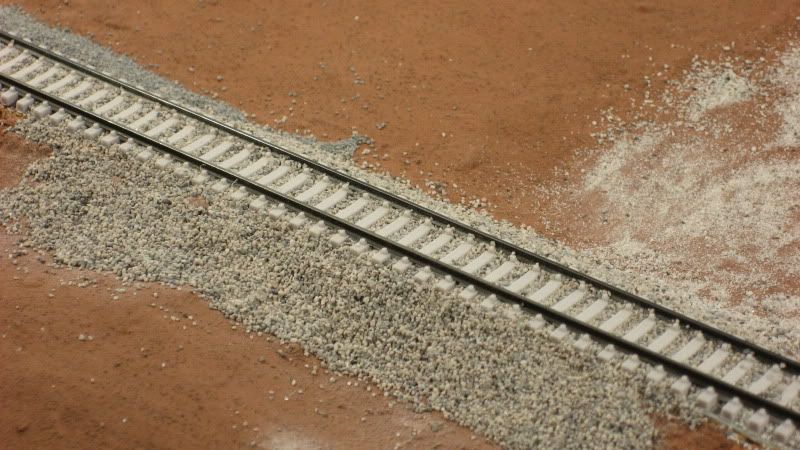
Step 8 Before adding the roadways to the layout, they must be weathered. Unless it has recently been resurfaced, any busy road or highway will have dark oily streaks running down the middle of each lane that have been deposited by the thousands of vehicles that have travelled down the road. This detail is critical to the realism of a modern highway and is easy to reproduce using simple weathering techniques. Compare the two roadway sections in the following photo to see how the weathering adds to the realism of the modeled scene:
Step 9 There are several techniques that can be used to apply the weathering to the roadways, such as airbrushing or the use of commercial weathering powders. However, I prefer to use simple chalks to do my weathering. I purchase inexpensive chalk pastels from a local art supply store for about $1.00 each and use the edge of a hobby knife to scrape the side of the pastel to yeald chalk powder. For this project, I used two shades of Prismacolor NuPastel Color Sticks: Black (229-P) and Burnt Umber (223-P). I scrape off about twice as mutch brown as black and blend both powders together to yield a nice dark oily color that looks just like real road grime. A little powder goes a long way, so I just scrape a very small amount of powder off at a time:
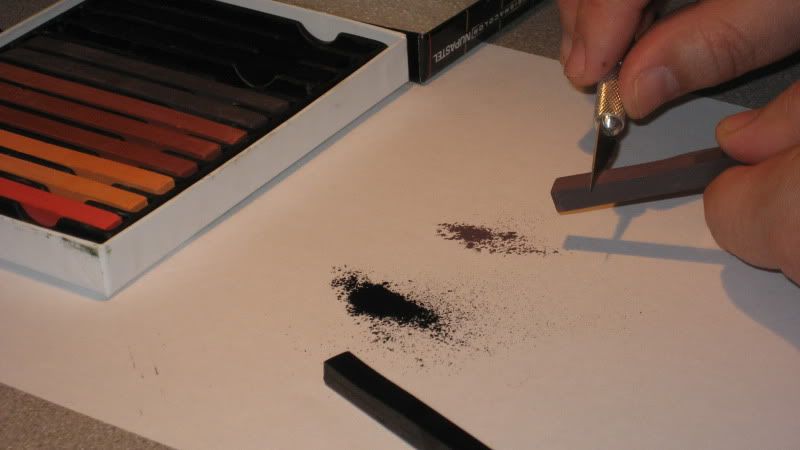
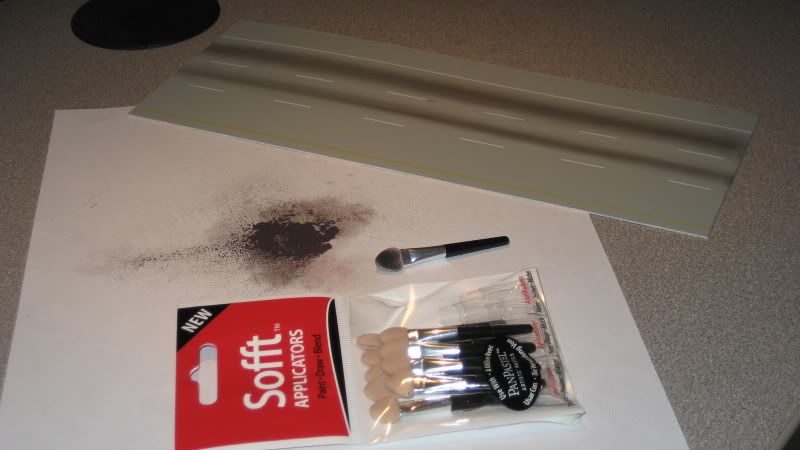
Step 10 I use art sponges to apply the powder to the roadway.
- WARNING #1 As I mentioned above, only a tiny amount of powder is needed to waether the roadways. Always start by barely touching the sponge to the pile of powder and then applying it to the roadway by streaking it down the middle of each lane. You can always apply more powder to darken the weathering, but taking off powder that has been applied can be difficult. Which leads us to...
- WARNING #2 I have heard zillions of modelers describe how plain powdered pastels and chalks are poor choices for weathering because they come off so easily. However, while this may be true for others, it is not true for me. In fact, I have actually submerged weathered models into water and scrubbed them down, yet the pastel powder did not go away at all. This is probably because I always apply the powder after applying a flat coat of paint such as the Testors spray paint used for this project. Anyway, keep this in mind as you go and everything will be fine. In a pinch, I have found using a plain pencil eraser will remove any weathering that has gone awry and must be redone.
In this photo, two of the lanes have been weathered so far. The package of sponges contains about a dozen art sponges and costs about $2.00 at a local art supply store. I like to streak the weathering powder on with one side of a sponge, then use a swirling motion with the "clean" side to even out the weathering. I discard the sponge after each lane is done. The lighting in this photo makes the weathering appear much darker than it appears in person:
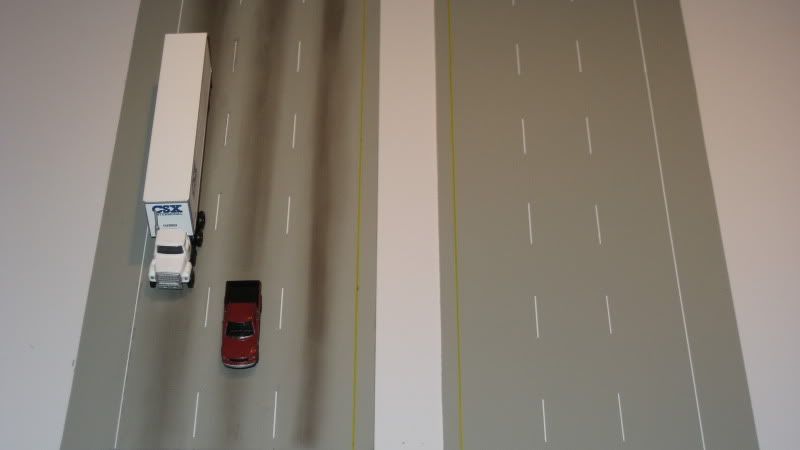
Step 11 The completed roadways have been temporarily placed on the layout with vehicles to see how they fit into the overall scene. They will eventually be glued to the foam layout base using caulk or construction adhesive:
.