Showing posts with label Scenery. Show all posts

Tuesday, January 1, 2013

Building the Etowah River Bridge: Part 1


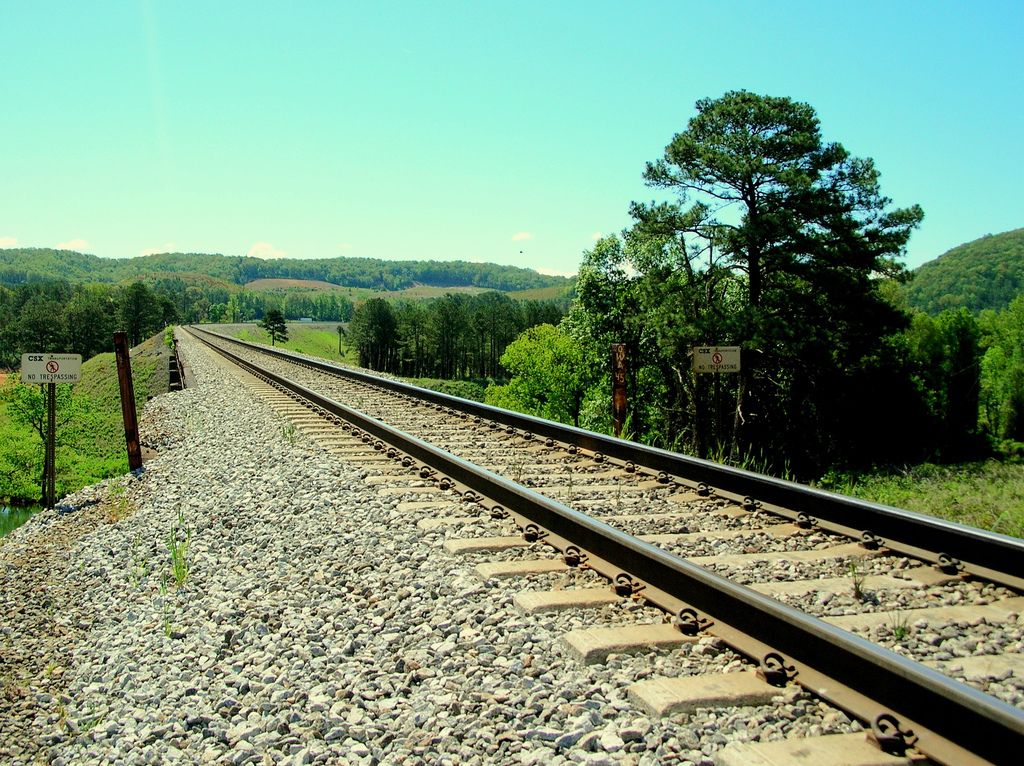
The CSX W&A subdivision crosses the Etowah River in scenic Bartow County, Georgia about 40 miles northeast of downtown Atlanta. This location has great sentimental value to me because it was the first location I railfanned with my family when I was seriously getting into the hobby back in 2007. The photo above was taken by Patrick Phelan (via RailPictures.net, used by permission) and led me to explore the area in the first place. I have it taped to the fascia on the layout to use as motivation for bringing this scene to life.

» The Prototype


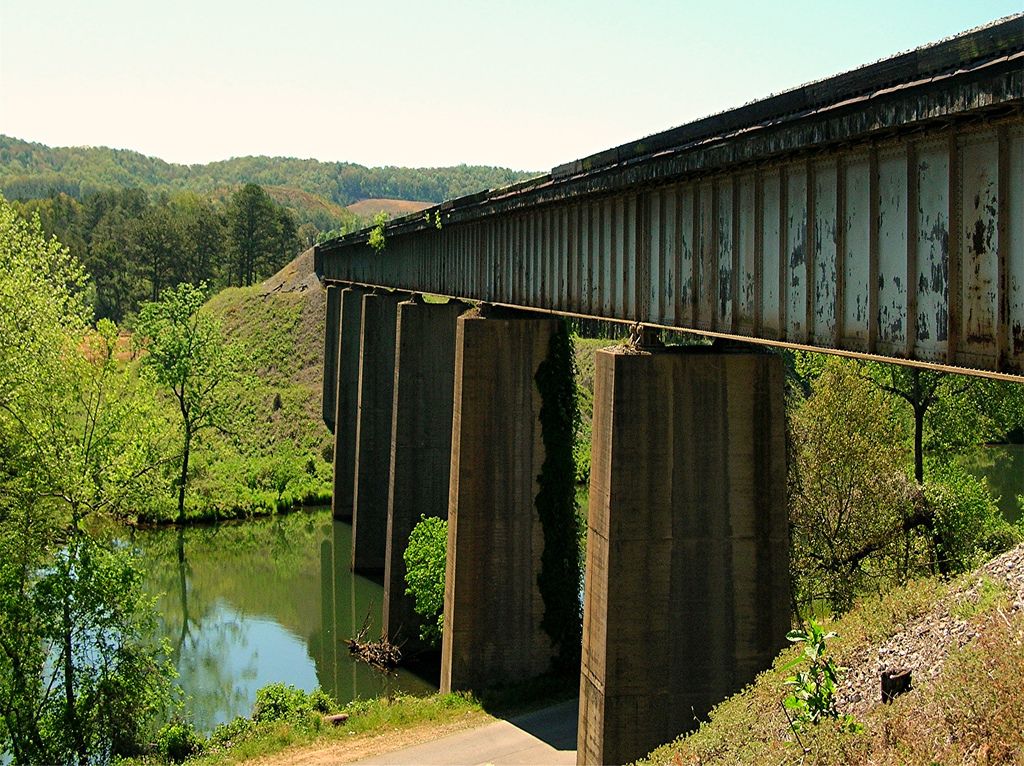
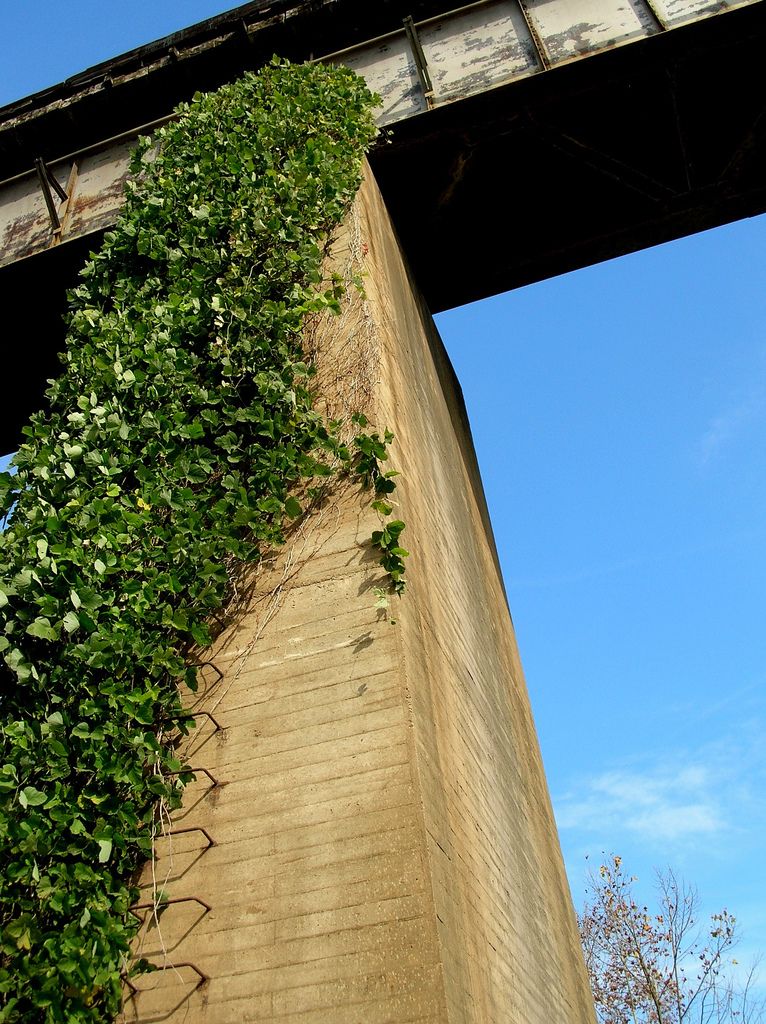
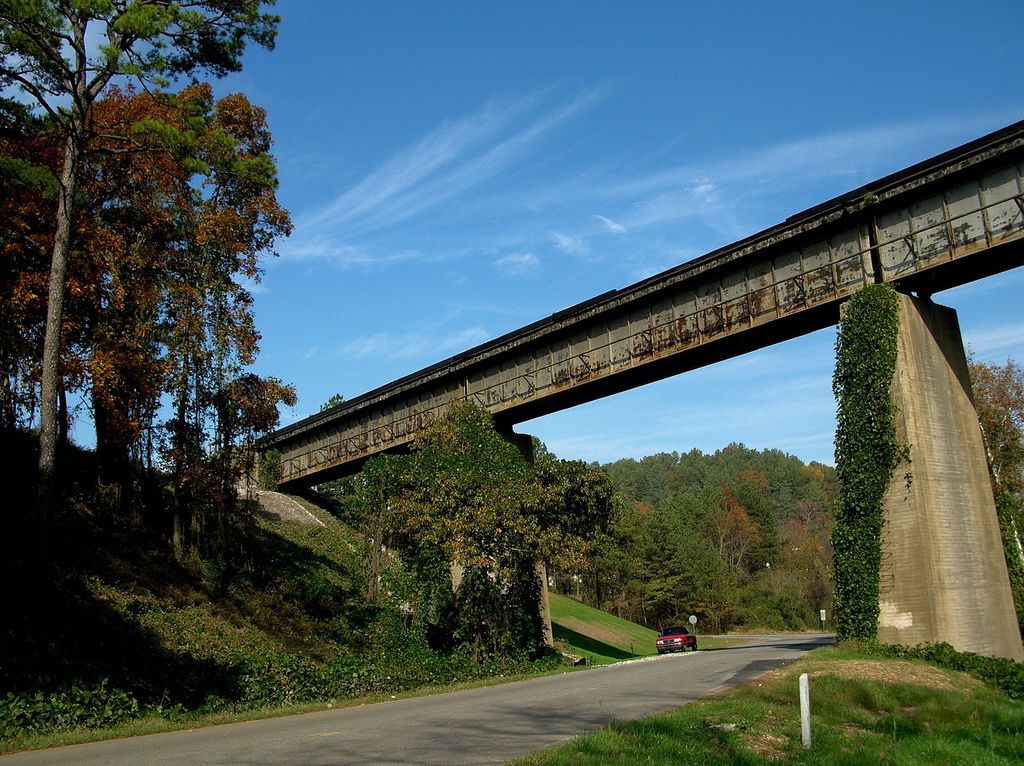
The prototype bridge is a seven-span ballasted deck girder bridge. The bridge crosses not just the Etowah River, but also Old River Road, which runs along the banks on the north side of the waterway. The approaches to the bridge are built on a high fill that is completely covered in a layer of lush Georgia kudzu. Most of the surrounding area is rural, with a low-lying pasture featuring a picturesque red barn located along the north shore along Old River Road.

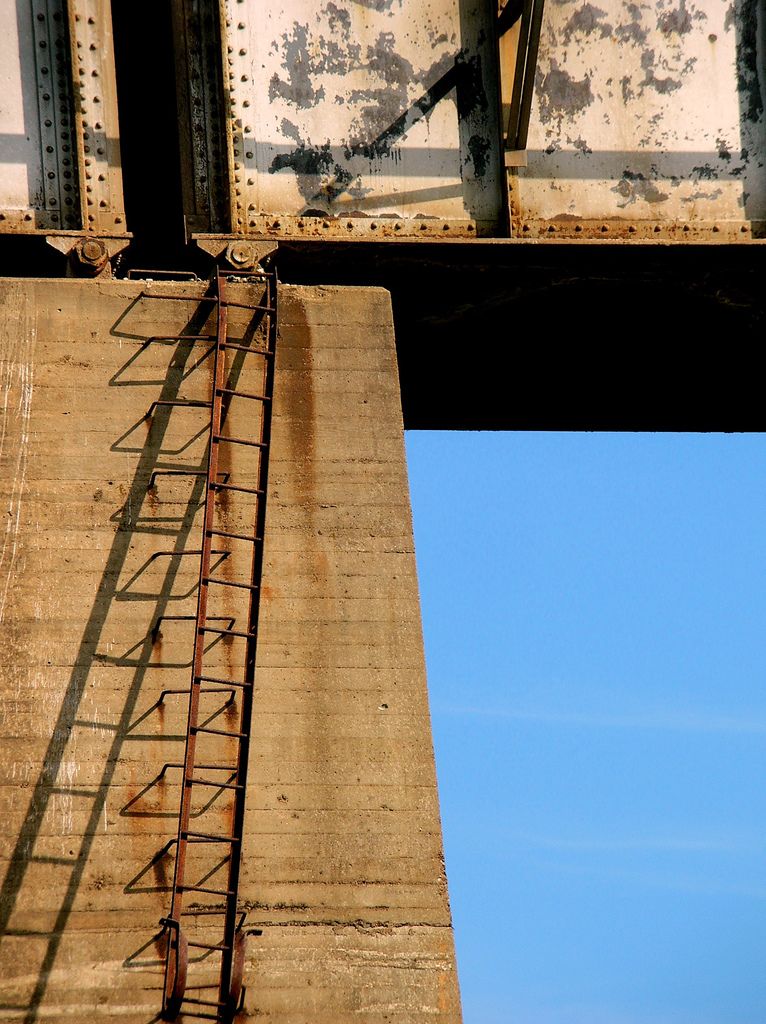
The basic bridge construction is fairly typical: a ballasted deck made of railroad timbers laid across a pair of steel plate girders, which in turn rest upon tapered concrete piers. Some of the unique features of the bridge include a cableway running along the west side of the girder face, grab irons mounted on the west faces of the piers, and the lack of any railings or walkways. At one time, ladders extended to the bridge deck from the tops of the piers, but at some point these were cut free and left hanging off the top of the piers. Given the lack of railings and walkways, I would be interested in knowing what happens when a conductor must walk a train stopped across the bridge.

Photos below by Kenny Shackleford via Flickr, used by permission.


» The Model


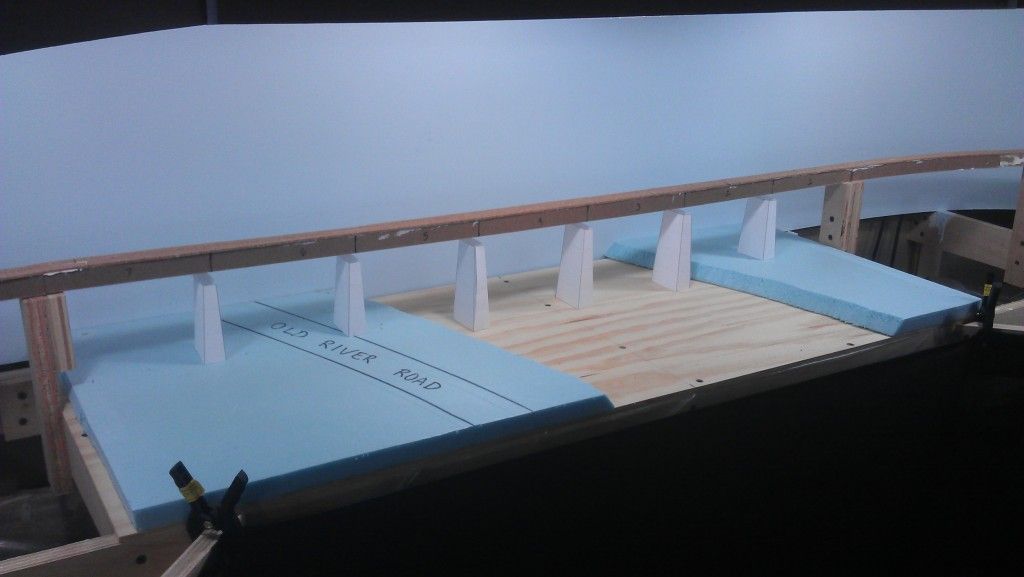
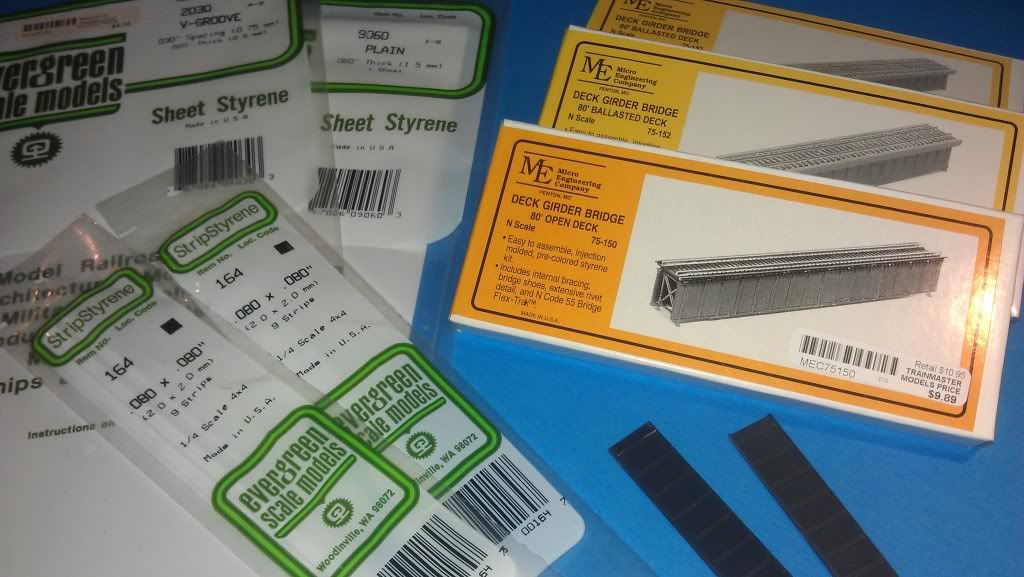
The model bridge will also be a seven-span ballasted deck girder bridge as mocked up in the photo below. The bridge itself will be kitbashed from seven Micro Engineering 80' deck girder bridges. The girders from the kits will be used, while the deck will be scratchbuilt. The piers and abutments will be cast in plaster using scratchbuilt molds. The bridge must be constructed so that the top of the deck lines up with the top of the spline roadbed approaches. This will allow cork roadbed, track and (eventually) ballst to be laid across the bridge and approaches in a continuous manner. My standard cardboard web, plaster cloth and Sculptamold terrain will be used to simulate the high fill found on the prototype. Finally, the surface of the plywood riverbed will be sanded and painted, then covered with Envirotex to simulate the water. The Etowah consistently has a deep green color in this area and is often quite calm, so the Envirotex should do an excellent job of simulating the river in this scene.

The next posts in this series will chronicle the construction of the Etowah River bridge on the layout over the coming weeks.


.

Wednesday, September 28, 2011

Layout Progress as of 9/28/2011

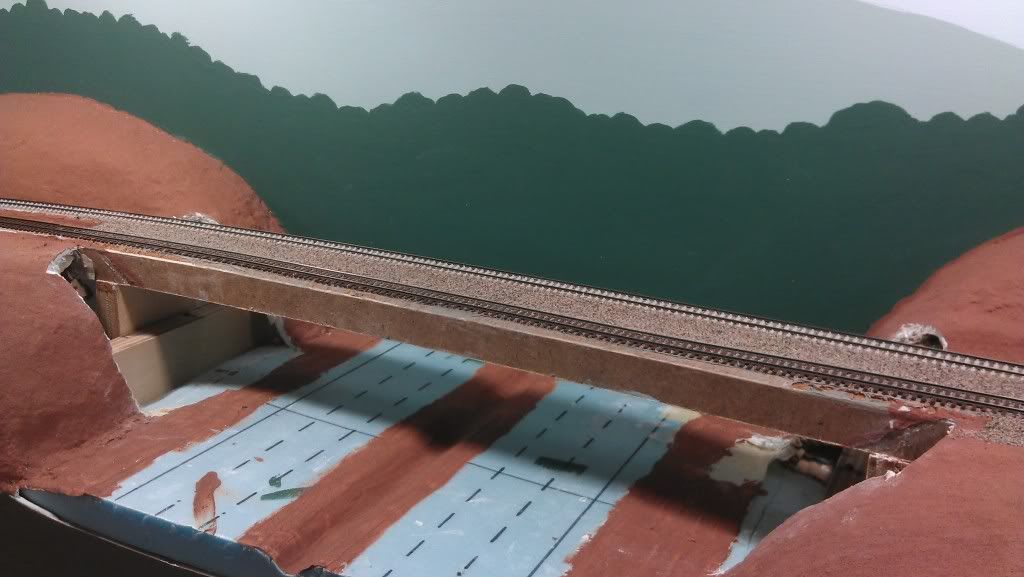
I have started work on the bridge where the CSX W&A Subdivision crosses over I-75 in Emerson, GA. I will be building this bridge in place; in other words, the bridge will be built around the existing spline roadbed. The only work completed so far is the removal of the scenery base where the bridge abutments will be installed:


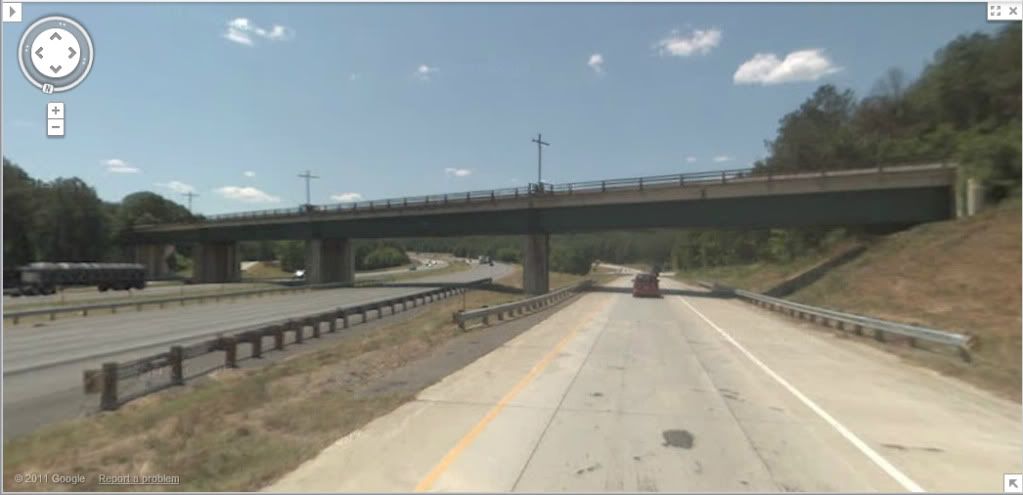
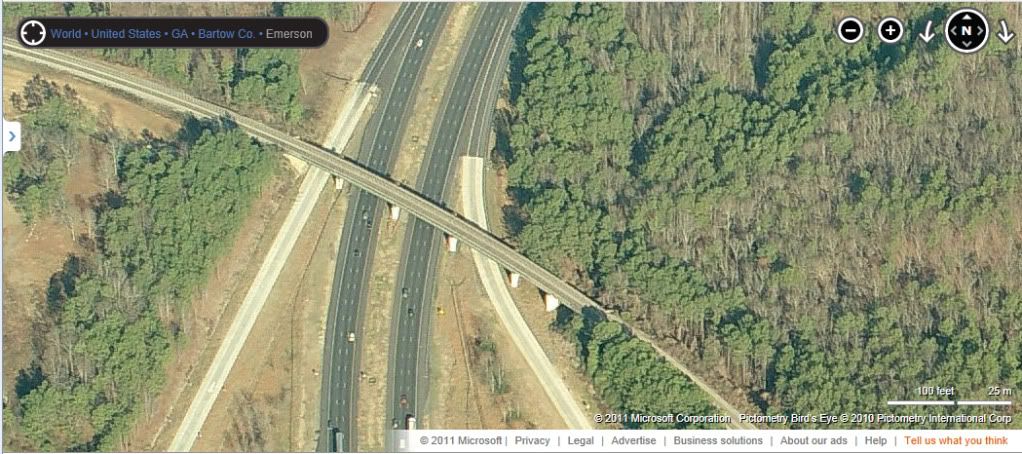
Below, I have included a few pictures of the prototype structure courtesy of Google Maps and Bing Maps. The scene on the layout will be simplified compared to the prototype scene in that there will be no off ramps modeled. Instead, there will be two three-lane interstate roadways and three bridge piers.

Looking northbound from the on-ramp from Old Allatoona Road to I-75 northbound:


Looking southbound from the off-ramp from I-75 southbound to Old Allatoona Road:


Overhead view looking northbound:


.

Saturday, September 24, 2011

Working Grade Crossing


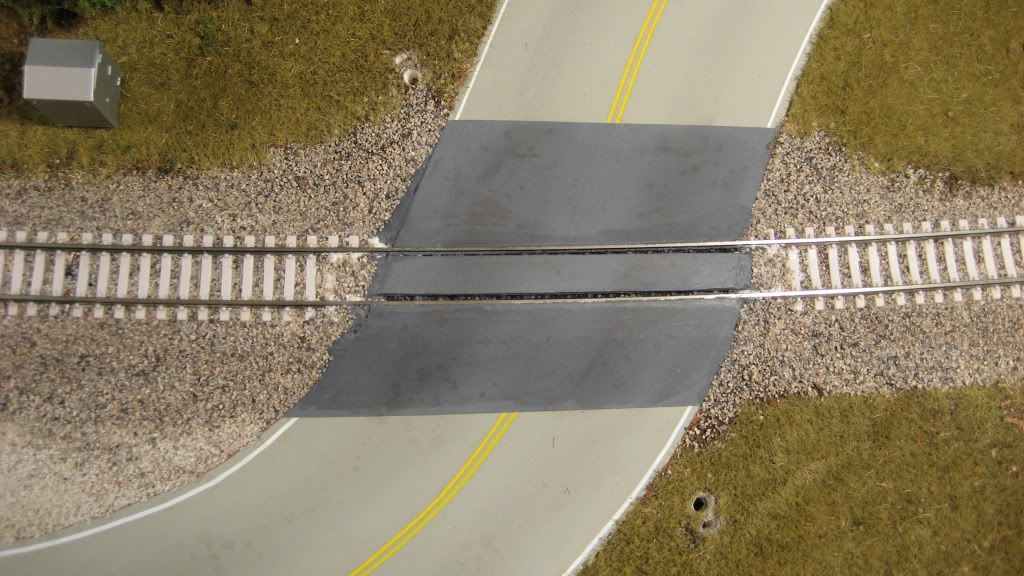
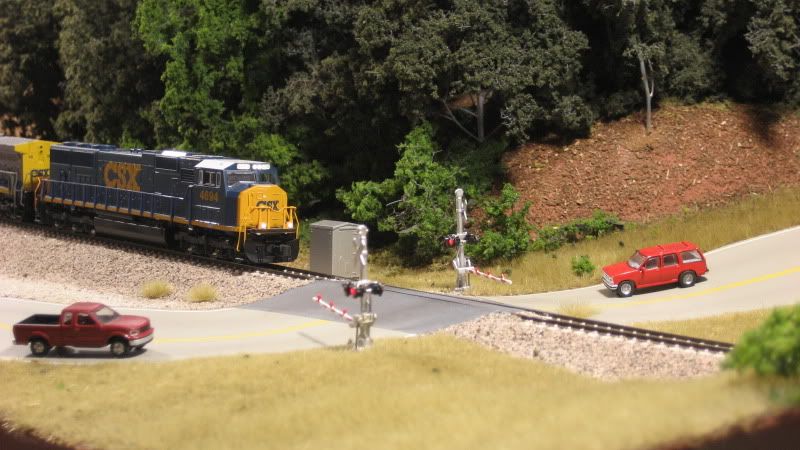
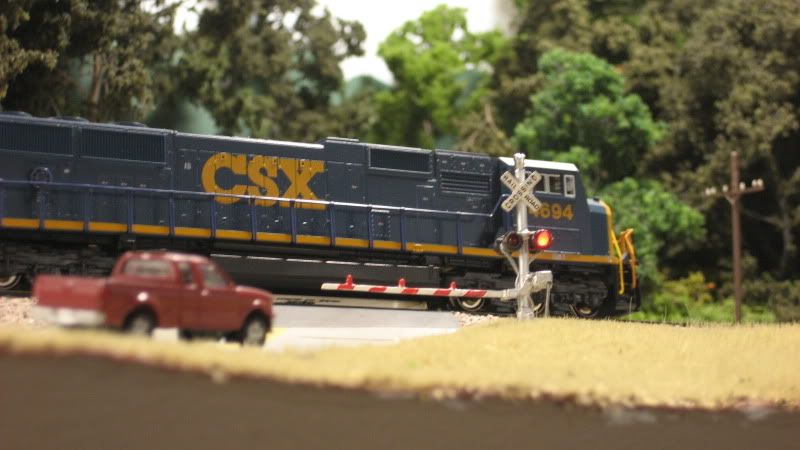
To spice up the scenery and add operational realism along the southern end of the layout, I added a working grade crossing where Allatoona Road crosses the tracks at milepost WA 39.6 on the CSX W&A subdivision. As the above video shows, the grade crossing functions just as it does on the prototype: as a train approaches, the lights begin flashing and the gates slowly lower across the roadway. After the train clears, the gates slowly raise and the lights go dark. The process repeats itself every time a northbound or southbound train passes through the scene, keeping the imaginary N-scale inhabitants out of harms way.

The signals used in this project are NJ International #2164. These signals are almost an exact match for the ones used at the real crossing and feature large modern "bug eye" flashers in both directions, crossbucks, and moving bar-arm gates with red stripes. The signal flashers on the signal upright are LEDs pre-wired with dropping resistors; however, the lights on the gates are molded on and do not operate. These signals, which are molded brass, come packaged as a pair and are super nice models. Plus, at about $30 they are also a great value.

» Flashers

The flashers are driven by a Digitrax DS-64 quad stationary decoder. The DS-64 is commonly used to operate turnout motors, but it has a nifty feature that allows the outputs to alternate at a rate that is ideal for crossing flashers. The DS-64 can also be connected to the Digitrax Loconet, which means it can operate in conjunction with Digitrax block detection so the signals will activate when a train occupies the crossing.

  1. I strongly recommend testing the flashers before installing the signals on the layout since it will be much more difficult to replace a set of defective signals later on. To do this, configure one set of outputs on the DS-64 to alternate/flash when activated (refer to your Digitrax instructions for the steps necessary to do this).

  2. Connect the signals to the DS-64 as indicated in the Digitrax instructions. Using your throttle, open and close the switch address for the appropriate set of outputs on the DS-64. The lights should flash and then go off as you open and close the switch. In this photo, you can see one of the signals being tested with the DS-64:


  3. After mounting the signals on the layout, simply connect the wires to the DS-64 below the layout just as you did when you tested the flashers before installation. When wiring the signals, be sure that both signals flash with each other and not against each other. In other words, when approaching the crossing in a vehicle on the road, both flashers should be flashing in unison: the right flasher should be lit, then the left, and so on. To see this in action, watch the video above and pay close attention to the flashing pattern of both signals as the gates are lowering. If your flashers are not doing this, simply reverse the connection to the DS-64 for one of the signals.


» Signals

  1. As packaged, the gates have a short actuating wire attached to them. You can see these wires in the photo above where the flashers are being tested with the DS-64. I needed a much longer actuation wire, so I replaced the factory wires with some longer handmade ones. I removed the factory installed wires with a small pair of clippers. WARNING: These signals are very delicate, so use care when using the clippers to removing the actuating wires.

  2. Drill a pair of holes at each signal location: a large hole for the base of the signal and a smaller hole for the actuating wire attached to the gate. To locate the smaller hole, I placed the signal in the larger hole and marked a spot below where the actuating wire attaches to the gate:


  3. Mount the signals in the larger hole using your glue of choice; I used white glue. Be sure to use care and not get any glue on or around the moving parts of the signals.

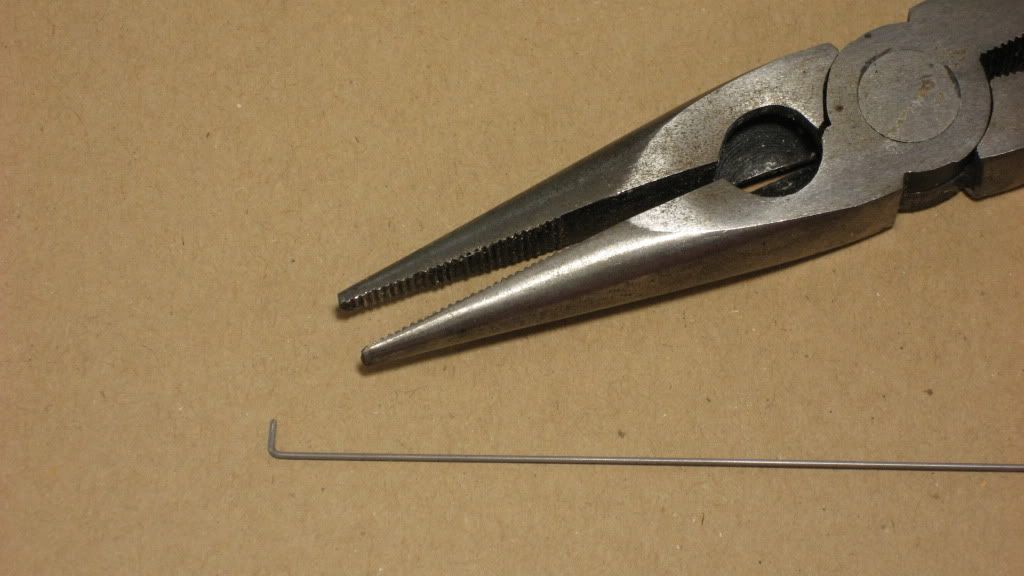
  4. With the signals mounted, I went ahead and installed the new actuating wires for the gates. To create the actuating wires, I cut a piece of .025 steel wire to about 12" in length. Don't worry about the exact length, you just want enough so that it reaches the Tortoise actuators that will be mounted below the layout. I made a small 90 degree bend in one end using a pair of needle nose pliers:


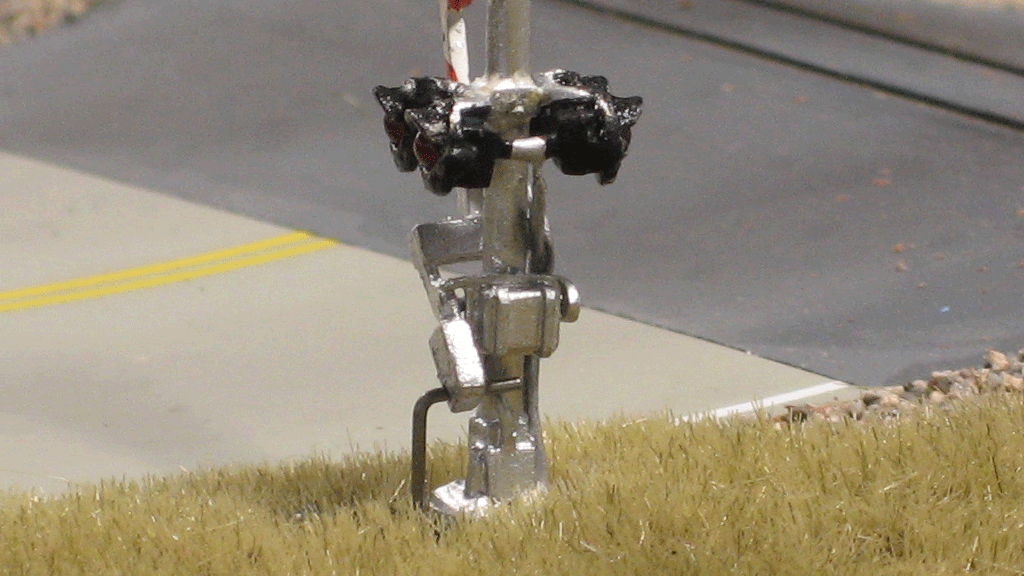
  5. To install the actuator wire, feed the straight end down through the hole in the layout from above and carefully slip the bent end through the hole in the end of the gate:


  6. With the actuator wire attached to the hole in the gate, it is now basically hanging down through the layout down below the benchwork. You should be able to reach under the layout and move the actuator wire up and down to make sure the gates lower and raise as they should.


» Gates

By far the most complex and difficult phase of the signal installation is getting the crossing gates to actually work along with the flashers. In fact, the installation of the gate mechanism was probably the most tedious and frustrating time I have ever experienced on the layout. There were several times I considered replacing the signals with ones that did not have crossing gates. However, patience eventually prevailed and I can now say that the outcome was well worth the effort. Watching the gates lower and raise each time a train passes really brings the whole scene to life.

There are a few components that you need to buy to make the crossing gate magic work:

  • (1) Circuitron 800-6000 "Tortoise" Slow Motion Switch Machine

  • (1) Circuitron 800-8100 Remote Signal Activator (RSA)

  • (1) Circuitron 800-8101 Extra cable & actuator for RSA


The best advice I can give for working with the RSA is to read the instructions from beginning to end. Then read them again. And again, and again, and again. The first time you will be saying "What the...?" but after a while something will click and you will realize the RSA is a brilliant little piece of hardware.

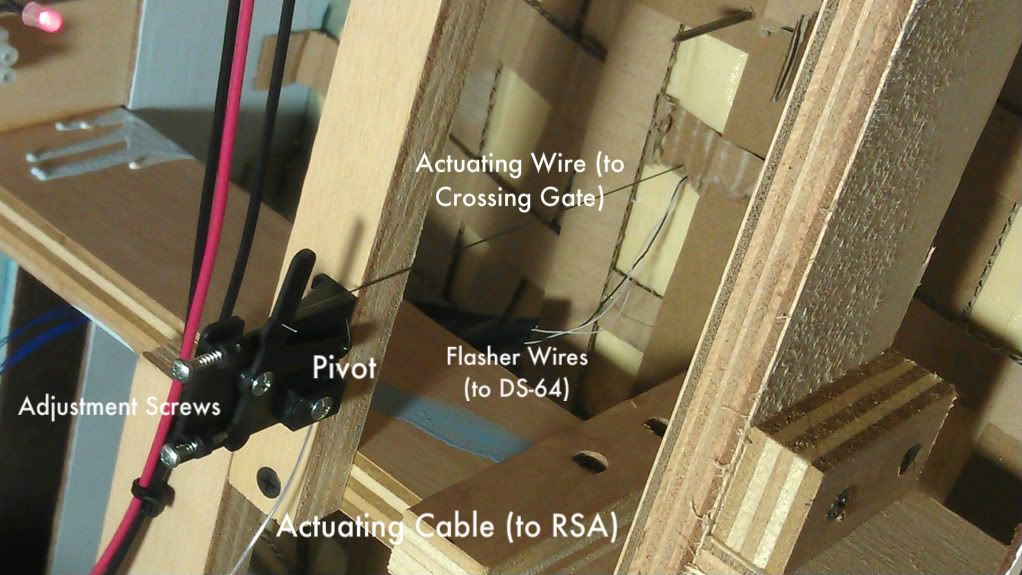
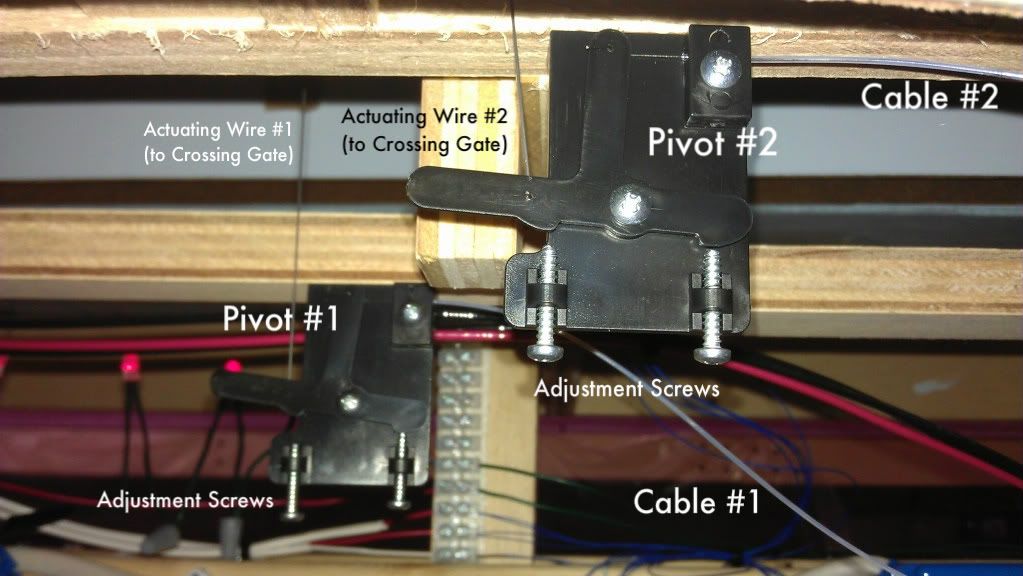
Basically, the Tortoise is attached to a slider on the base of the RSA which in turn is attached a pair of cables that fan out to a pair of remote pivots mounted below the crossing gates on the layout. These remote pivots are connected to the actuator wires that we previously attached to our crossing gates. When the Tortoise moves, the slider moves back-and-forth, causing the cables to extend and retract, which makes the pivots rotate, which cause the actuating wires to lower and raise the crossing gates. Magic.

  1. To begin, select a location under the layout where the RSA will be mounted. You want to pick a location out of the way from the crossing gates as to not interfere with the mounting location of the pivots, but close enough so the cables from the RSA to the pivots will not need to be excessively long. The cables are flexible so they can curve, but don't make the curves too tight or the cables will bind when operated. Consult the RSA instructions for the specific limitations of the cables. Be sure to allow enough room to accommodate the Tortoise motor.

  2. Mount the RSA below the layout according to the RSA instructions.

  3. Mount the pivots below the crossing gates according to the RSA instructions. The actuating wires hanging down from the gates will determine where the pivots must go.

  4. Connect the cables between the RSA and the pivots according to the RSA instructions.

  5. Clip the actuating wires (hanging from the crossing gates) to an appropriate length and attach to the pivots according to the RSA instructions.

  6. Attach the Tortoise switch motor to the RSA according to the RSA instructions.

  7. Wire the Tortoise to one of the sets of outputs on the DS-64. Consult the Digitrax instructions for the specifics of this step.

  8. Using the switch address of the DS-64 outputs, use your throttle to operate the Tortoise switch motor. The entire apparatus should function as described above.

  9. The pivots have adjustment screws that allow you to control their range of motion. If the crossing gates do not raise or lower to their correct positions, play with the adjustment screws until the gates end up in their desired positions.


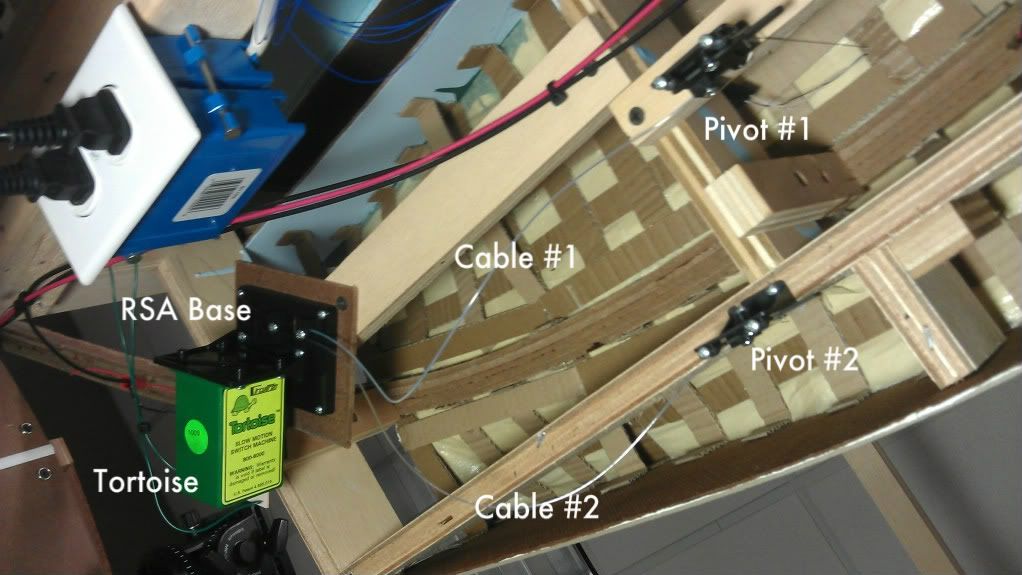
The following photos show the overall Circuitron RSA installation, looking up from below the layout. In the first photo, notice how a 1x3 crossmember has been added to mount the RSA base and a 1x2 crossmember has been added to mount pivot #1:


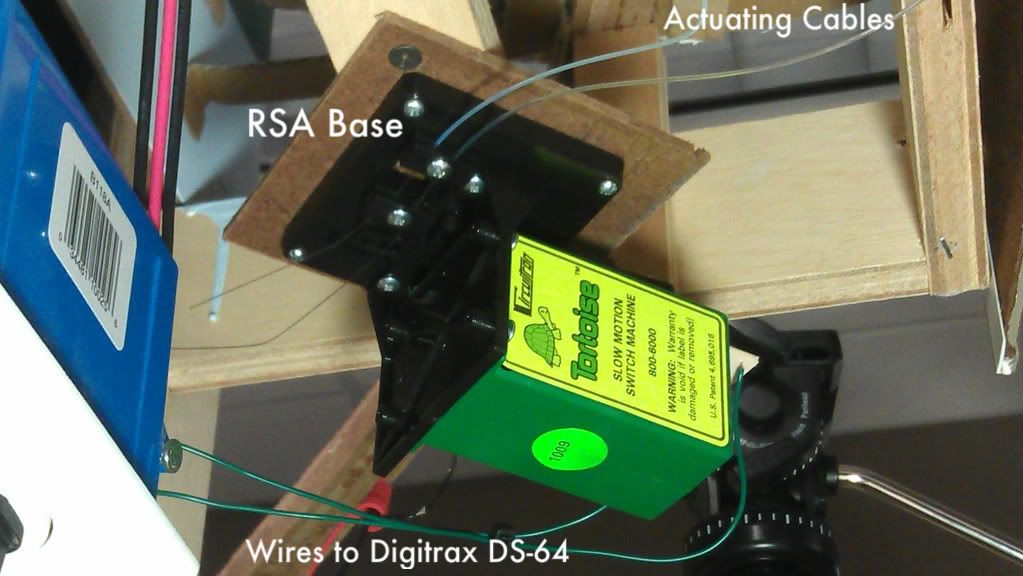
RSA base details:


Pivot details:


Pivot side view:


.

Tuesday, November 30, 2010

Layout Progress as of 11/30/2010

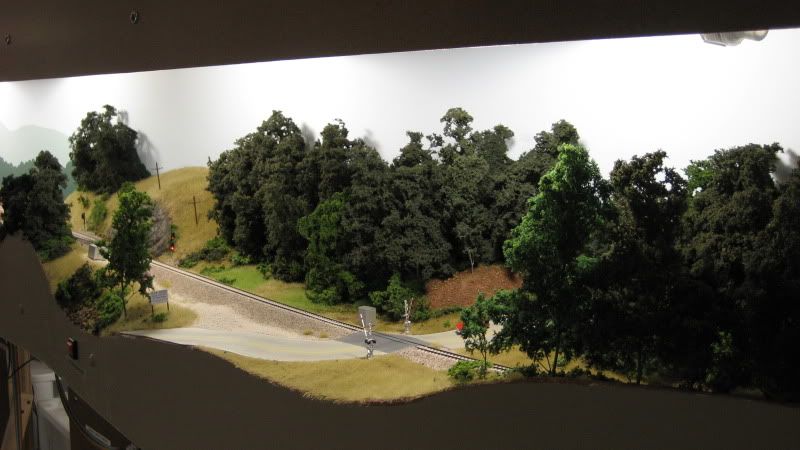
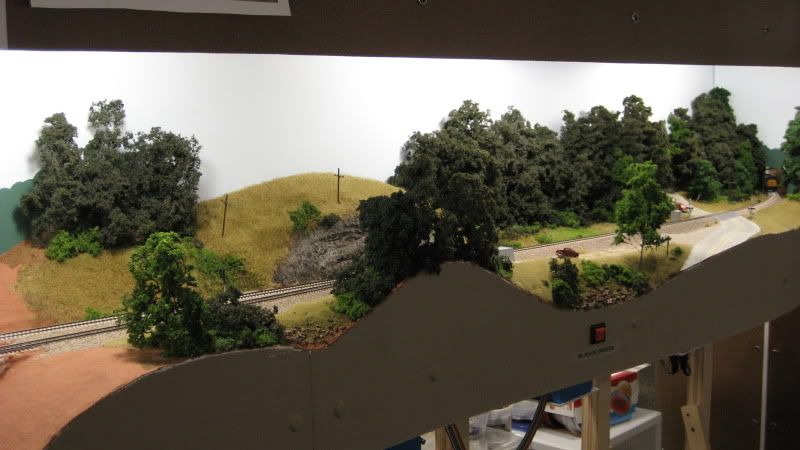
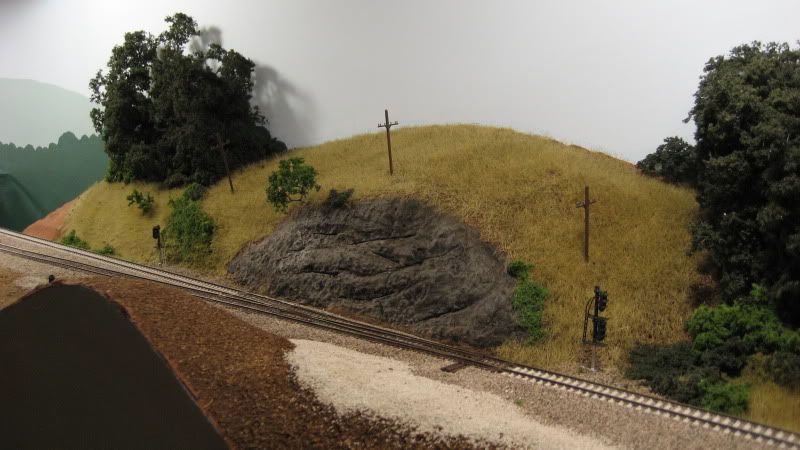
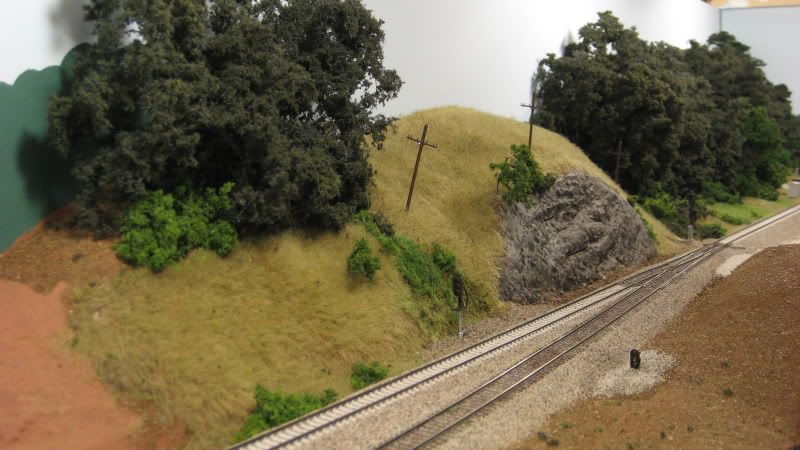
Over the long holiday weekend, I added the remaining grass, bushes and trees to the area around the South Emerson turnout on the layout. Although there are still some details to be added, this scene is pretty much complete.

» Photos


Looking north at the South Emerson turnout:


The next photo is the same area as above but looking in the opposite direction:


.

Thursday, November 25, 2010

Layout Progress as of 11/25/2010

Happy Thanksgiving to everyone! Aside from consuming mass quantities of turkey and all the trimmings, I did some additional scenery work around South Emerson on the layout. I am mostly adding vegetation behind the tracks to the north of the rock cut and in front of the tracks between the Allatoona Road grade crossing and the I-75 overpass.

» Photos


Looking north at the South Emerson turnout, I have added gravel in front of the tracks where the signal relay shed will be located. The line poles can still be found along most of the right-of-way despite the fact that they were taken out of service sometime in the early 1990s. They are a prominent feature above the rock cut on the prototype as they are on the layout:


The next photo is the same area as above but looking in the opposite direction (south). The newly added scenery includes the cluster of trees and grassy hillside to the left, bushes and vines, and the ballast around the signals:


.

Sunday, November 14, 2010

Layout Progress as of 11/14/2010


Recent progress on the layout includes adding additional layers of vegetation to existing scenery, adding new vegetation to bare scenes, and adding a few details here and there. The photo above shows a good example of what I have been working on recently. Some of the new "little touches" that really impact the realism of this scene include:

  • The electrical box that houses the circuitry for the grade crossing signals

  • Additional bushes and shrubs around the base of the hill

  • Small tufts of dry grass in a few places


I still have to decide what to do with that bare patch of grass in the foreground. On the prototype, there is dense brush with a side street angling away. While the dense brush would obscure most of the scene, I am still contemplating adding a driveway and a few mailboxes to represent the street that leads to a few homes.

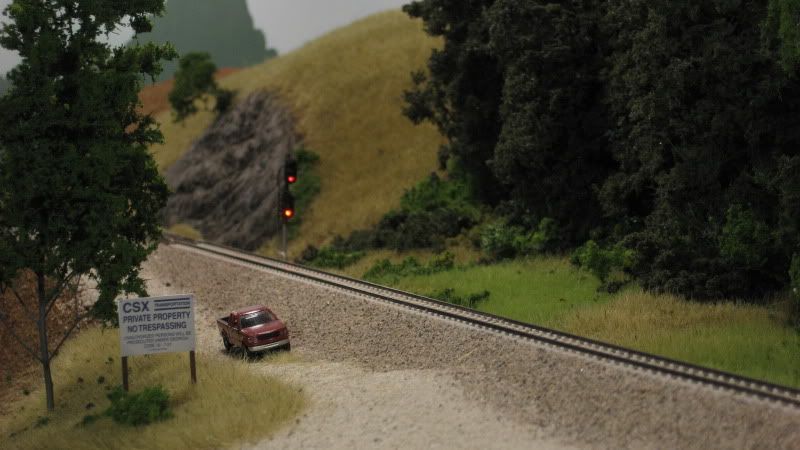
The next photo shows the same scene looking north towards the recently added rock cut that I described in another post. I have included a prototype photo to show how the modeled scene compares to the real thing:


Some of the work I have done in this area includes:

  • Adding static grass to the hill above the rock cut

  • Adding bushes, weeds and vines between the tracks and the trees

  • Adding static grass down the center of the access road

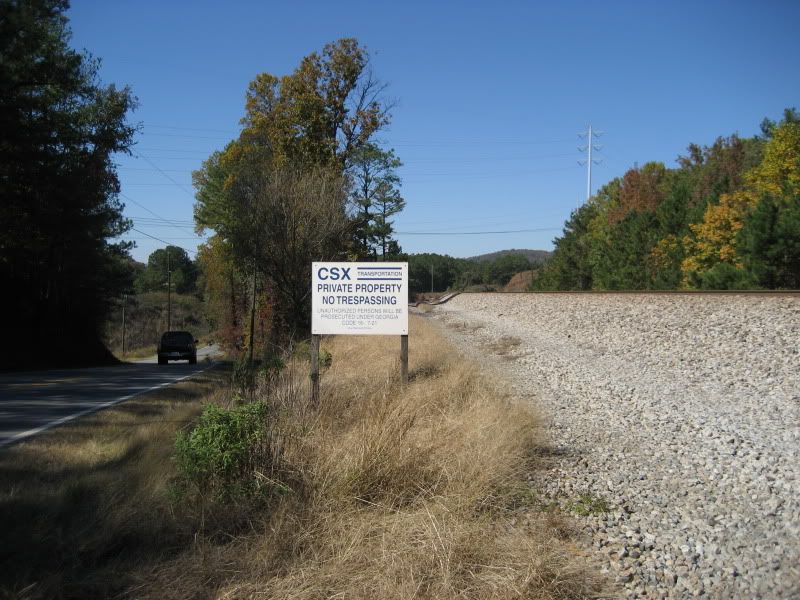
  • Adding the CSX "No Trespassing" sign from a digital photo

  • Adding tress and bushes in front of the tracks


While this scene looks complete, if you look closely you can see bare ground extends past the grass covered areas. I still have lots of vegetation to add to this scene, plus I am working on a concept for adding high tension power lines that cross the tracks at the rock cut.

.
Monday, November 8, 2010

DIY: Hand Carved Rocks


At the south switch of the Emerson passing siding, the CSX mainline follows the side of a hill that includes a small rock cut that was carved many years ago in order to make room for the roadbed. Staying true to the prototype, I decided to model this rock cut. When I was shaping the basic terrain in this area, I allowed a bit of extra clearance to allow room for the rock cut. I initially planned on using plaster rocks cast in rubber molds, but could not find anything that was an appropriate fit. I then turned to one of Joe Fugate's scenery DVDs which includes a chapter on hand carving rocks. This video series has proved invaluable to me as I have created the layout, and the chapter on hand carved rocks was no different. I have never before done any kind of hand carved plaster work, but armed with the knowledge gleamed from the DVD, I decided to give it a try. The steps below show how I created my very first hand carved rock.

» Steps


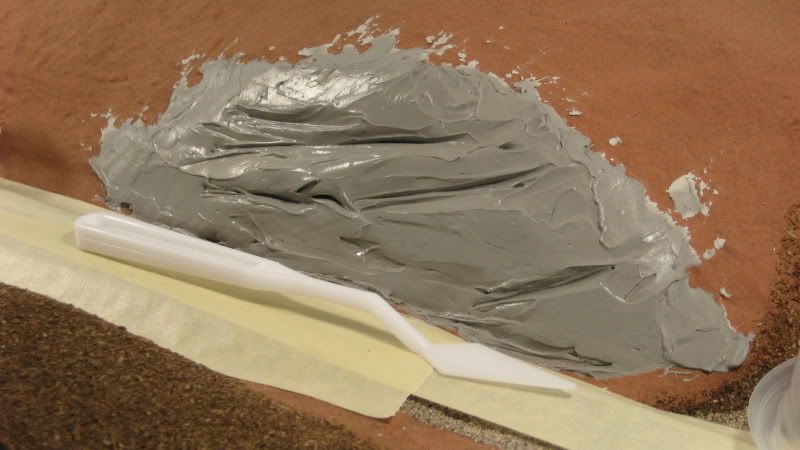
Step 1 To get started, I scooped three globs of DAP pre-mixed patching plaster into a plastic cup and added a few shakes (about half a teaspoon) of black tempera powder paint to kill the bright white color. I then used a putty knife to smear a layer of the plaster mix onto the bare rock face. I first sprayed the surface with water so the old plaster would not rob the new plaster of its moisture. I also used a plastic painter's knife (shown) to carve some grooves into the wet plaster that simulate the layers of sedimentary rock:


Step 2 I used a metal painters tool (shown) to pick at the plaster as it setup, creating nicks, grooves and other random gouges in the rock face. If you begin carving before the plaster has setup enough, it will crumble rather than flake. If you get crumbling, stop and come back later to resume your carving. IMPORTANT: Patching plaster contains retarder to extend its working time. For my batch of plaster, it took 8-10 hours before the plaster setup to the point where it could be carved! It was then about another four hours before the center section had setup to the point where I could finish carving. In this photo, taken 12 hours after the plaster was applied to the layout, you can see an area that is still too soft to be carved (the smooth area at the lower left-center side of the rock):


Step 3 Finally, after about 16 hours, the carving is complete. Before the plaster is completely dry, lightly scrub it with a stiff plastic-bristle brush (shown in the previous photo) to give the rock a realistic weathered look. As I scrub, I use a soft paintbrush to clean any small particles off of the rock face so I can see how things are progressing:


Step 4 I begin staining the rock face by using a medium gray acrylic paint thinned to a wash. You will find that the plaster really soaks up the paint, so be sure to give it a few sprays of water every now and then to keep the paint flowing:


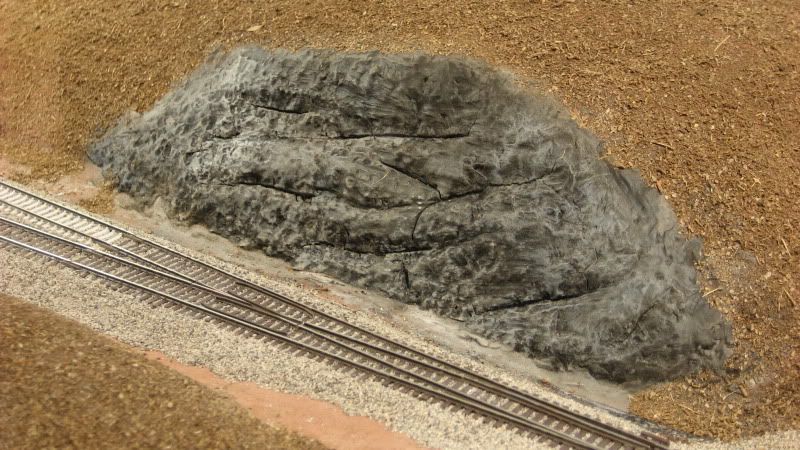
Step 5 After the initial gray wash has dried, apply a second dark black-brown wash. In the second photo, notice how this second wash settles into the grooves and cracks--for the first time, this rock is starting to look like the real thing:


Step 6 At this point, I began to blend the rock in with the surrounding scenery by applying my homemade dirt to the painted, textured scenery base. I also dry brushed on some varying shades of grays and browns to introduce some variations into the rock coloring:


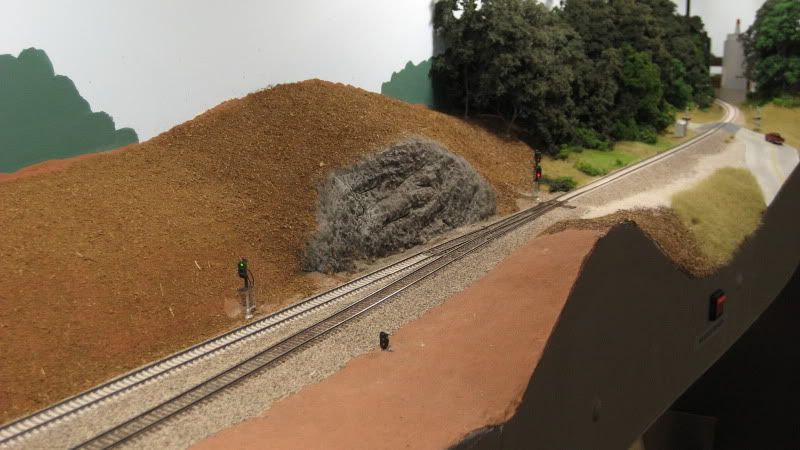
Step 7 All done! Well, almost done, since there will be some additional weathering done with pastels as the surrounding scenery is added. Here is a close-up view of the (almost) finished rock and a few wider shots showing how the rock cut fits into the overall scene:


.
Sunday, October 31, 2010

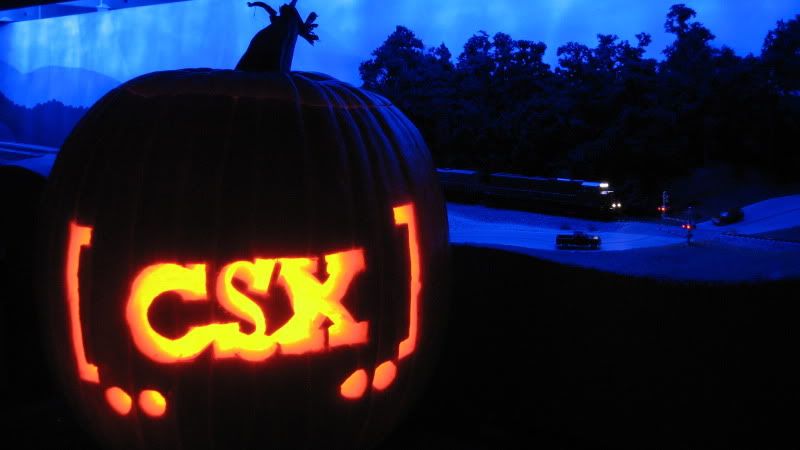
Happy Halloween!


.
Friday, October 29, 2010

Layout Progress as of 10/29/2010


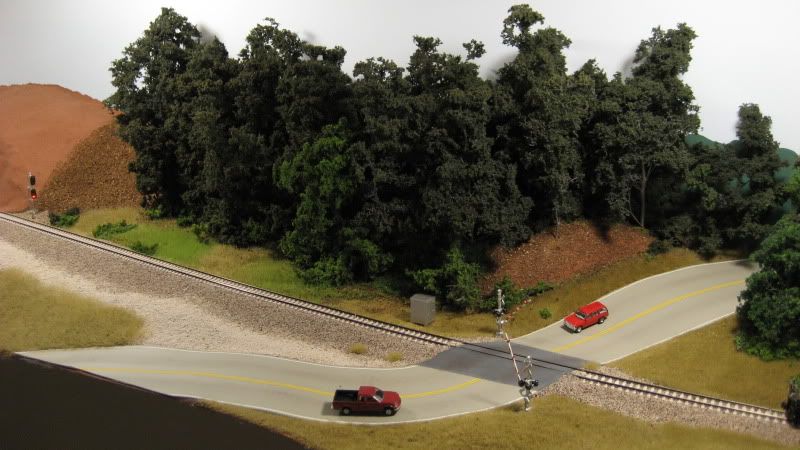
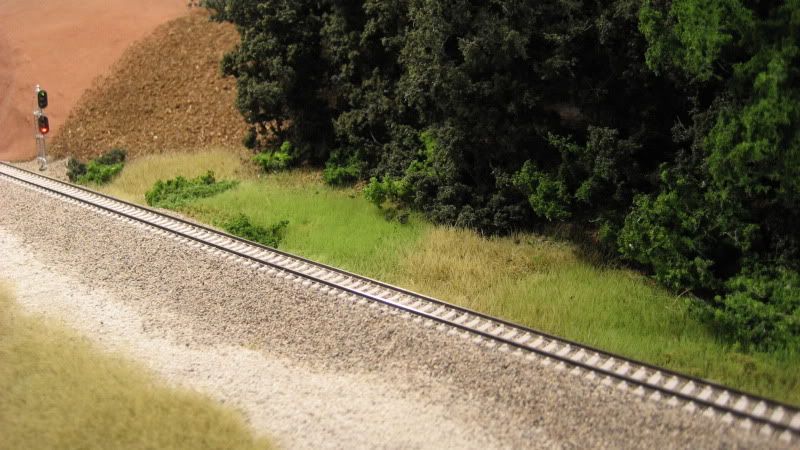
Trees, trees and more trees. This week I found out that you can crank out a lot of SuperTrees while watching Monday Night Football and the 2010 World Series. As a result, I added a significant section of forest (about 18" long) behind the tracks at South End Emerson. I also installed working grade crossing signals (above), which will be covered in detail in an upcoming HOWTO post. The photos below show an overview of the progress made this week.

» Photos


Before:


After:


.
Tuesday, October 19, 2010

Layout Progress as of 10/19/2010


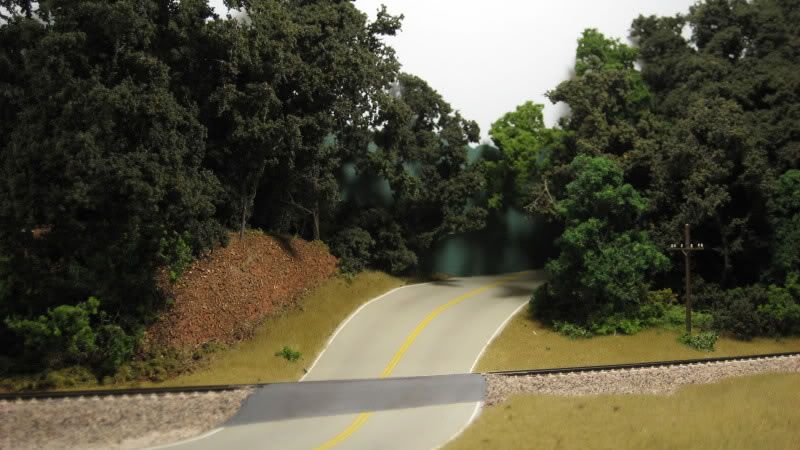
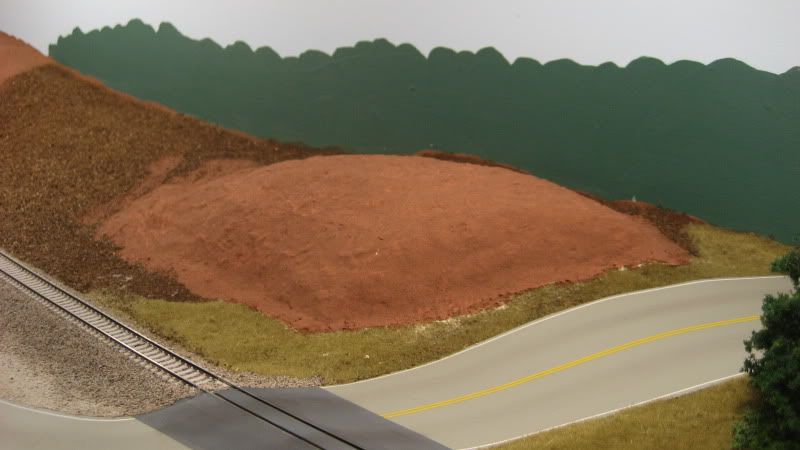
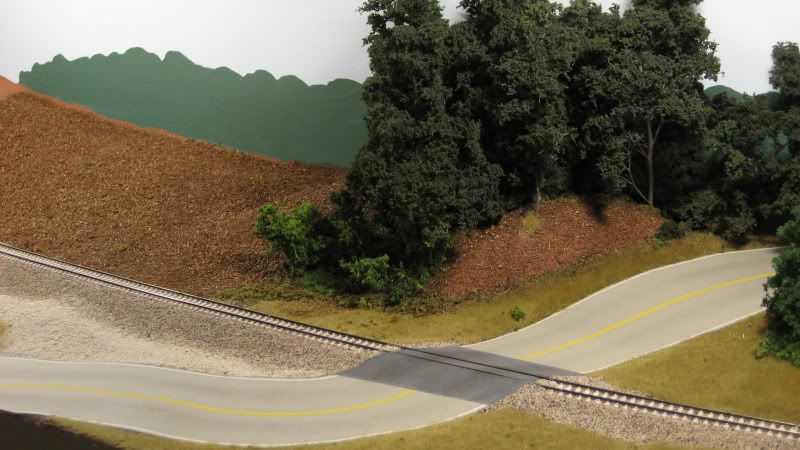
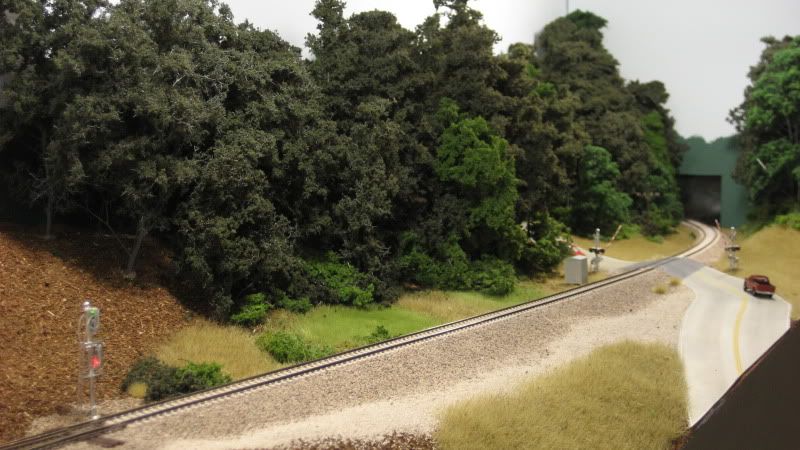
I recently finished some scenery work that I started way back in...July? Can that be right? Three months away from the layout? This was a busy summer. Anyway, while looking at some prototype photos of the Old Allatoona Road grade crossing, I noticed the road actually travels through a slight cut after crossing the tracks. Although the cut is low, it is quite noticeable (as you can see in the Google Maps imagery below) and modeling it would be a nice way to tie the layout to the real thing. The photos below show how I modeled this feature.


» Photos


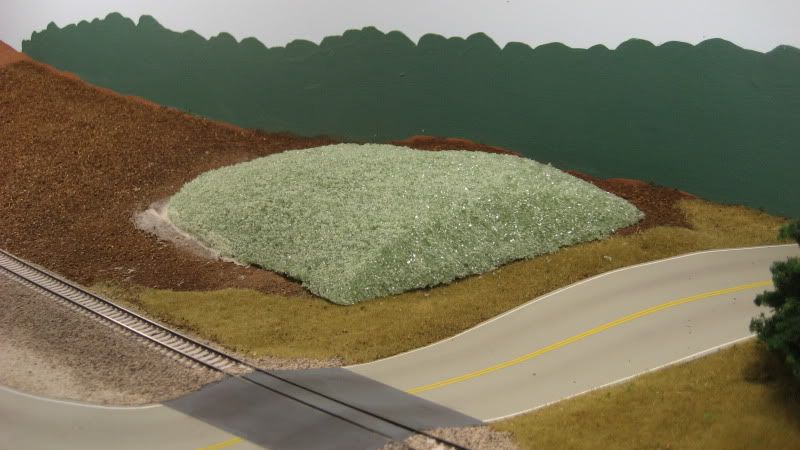
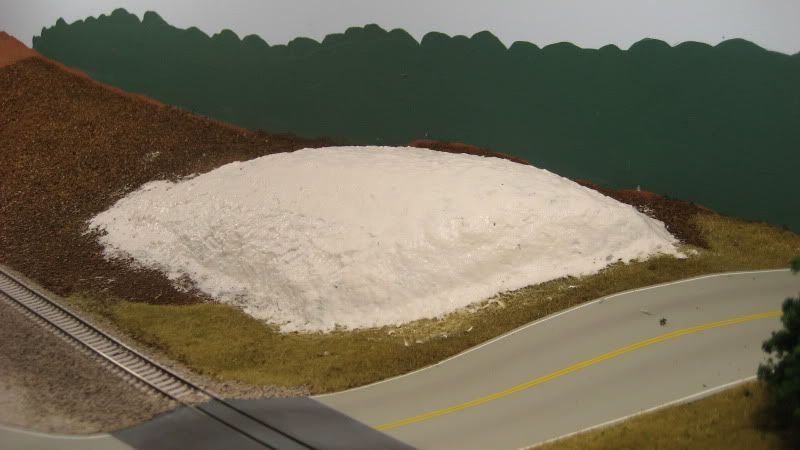
I began building the hill behind the tracks by shaping some plain old green floral foam. I carved the hill to shape before affixing it to the layout using Loctite construction adhesive. I applied the hill right over the top of the existing scenery base, which had already been covered with dirt and some static grass:


I then covered the hill with Sculptamold to blend it in to the surrounding terrain. Since all of the hill except for the cut face along the road will be covered by foliage, I didn't spend too much time on this step:


Next, the hill was painted using my standard textured ground color:


Finally, the usual treatment of ground cover, bushes and trees were added. I rubbed most of the ground cover off of the cut face of the hill to reveal the red Georgia clay just as it appears on the prototype:


This small change resulted in a big improvement to the look of this scene.

.