Wednesday, September 24, 2008

Layout Progress as of 9/24/2008

After making good progress during the first two months of construction, I decided to take a two week vacation away from the train room. After getting my fill of college and NFL football, I came back to the layout and managed to finally finish all of the 120-volt electrical work that powers the layout lighting and DCC components. While I enjoy electrical work, I have to admit I was very happy when I completed this project--running 14-2 cable and wiring 35 dual-outlet receptacles gets just a bit tedious after a while! I have included a few photos of this finished electrical work and a diagram to show how the whole thing fits together. It is funny to think that one day in the not too distant future, all of this work will be out of sight behind the skirting that will hang down below the fascia of the lower level.

Now that the high voltage electrical work has been completed, I can complete installation of the layout lighting on the lower level. I also plan on installing the middle level backdrops before doing the finish work on the already installed lower level backdrops. This way, I can do the finish work on both levels at the same time and I will not have to worry about drywall compound or paint dripping down onto a completed lower level when I finish the middle level backdrops.

Here is a diagram of the entire 120-volt "power strip" that runs below the benchwork:


Looking down the Emerson, GA aisle:


Looking down the Cartersville, GA aisle:


Looking back up the Cartersville, GA aisle towards where the helix will be located:


Looking at the short wall where the Etowah River valley will be located:


.

Friday, September 12, 2008

Track Plan v2.1

I have revised the track plan to show two changes in the overall shape of the layout. First, the shape of the helix has been changed from a circle to an oval, which makes me wonder if it can still technically be called a helix. That aside, the reason for this is by adding 18" straight sections into the old circle, the overall track length of each level is increased, which reduces the track grade. Specifically, the grade of the inner track has been reduced from a rather steep 2.7% to a moderate 1.5% (the outer track grade is reduced from 2.6% to 1.4%). The straight sections also reduce friction of trains in the helix, since part of the train will be on straight track. This will reduce the pulling power needed for trains negotiating the same grade on all curved track. Secondly, the benchwork at the end of one of the aisles has been extended to a full 24" deep, effectively shortening the aisle a bit but providing more space for scenery and structures that will help hide the non-natural looking horseshoe curves needed in this area. This change can be seen in the upper left corner of the track plans below on all three levels.

Also, the area in the lower left corner of the lower level track plan has been changed to represent Emerson, GA. This part of the layout is where Emerson would be located on the prototype. Emerson is a small town in hilly terrain that features an intersection with a flashing yellow light and not much else. However, there is lots of railroad action here because of a long passing siding where frequent meets take place and a bad order track where northbound trains set out cars that have been flagged by the defect detector in Cartersville. These operations will be included in the N-scale Dixie Line operations as well.

Lower Level


Middle Level


Upper Level


.

Sunday, September 7, 2008

Layout Progress as of 9/7/2008

This weekend I finished installing the lighting in the Emerson, GA area of the lower level. There are 11 compact fluorescent lights (CFLs) on this section of the layout. After installing all 11 fixtures, I screwed in the bulbs, turned on the layout lights and turned off the room lights:


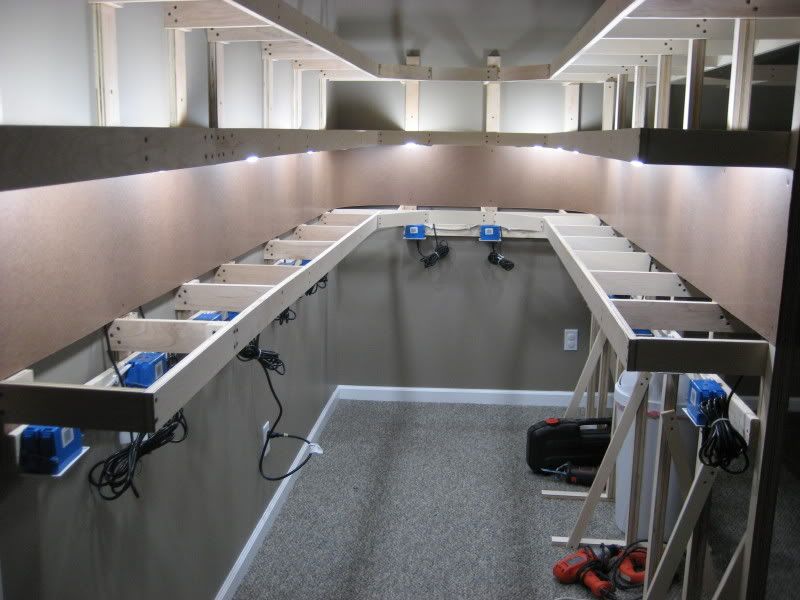
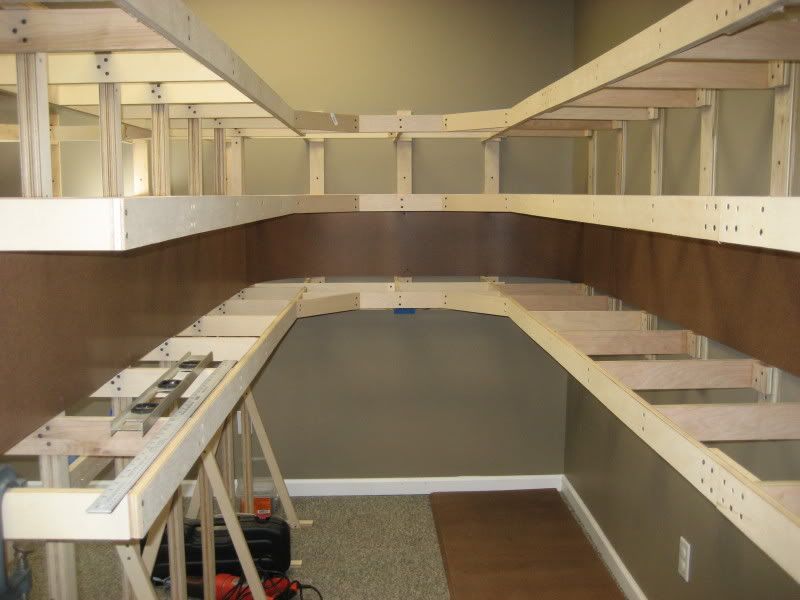
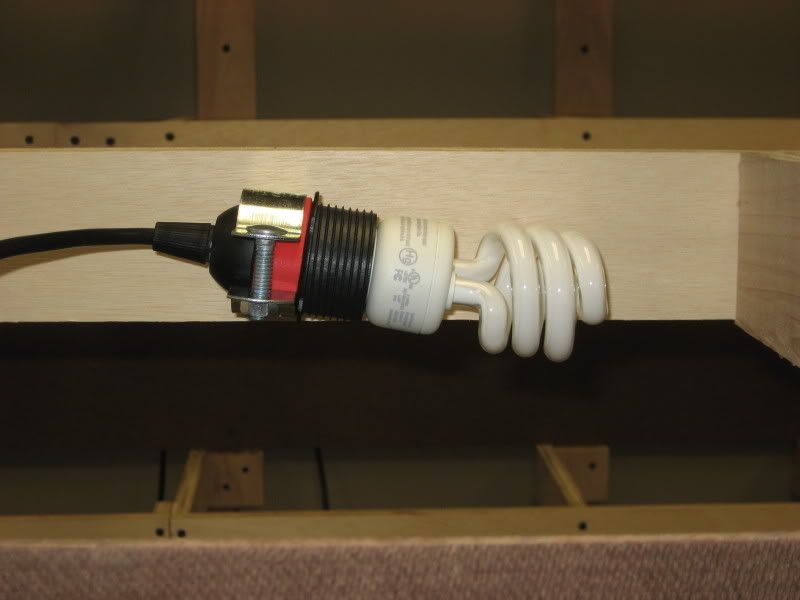
Everything looked pretty good, except for some dark areas towards the upper part of the backdrop in a few spots. This was happening because some of the lights were installed immediately adjacent to a joist, which was basically blocking the light from the top part of the backdrop on the opposite side of the joist from the light. To solve this problem, I simply rotated the entire light fixture so that the bulb would be moved down below the bottom of the joist. This placement of the fixture resulted in much more even lighting on the backdrop. Here is a view of one of the fixtures from behind showing how the bulb has been rotated downward:


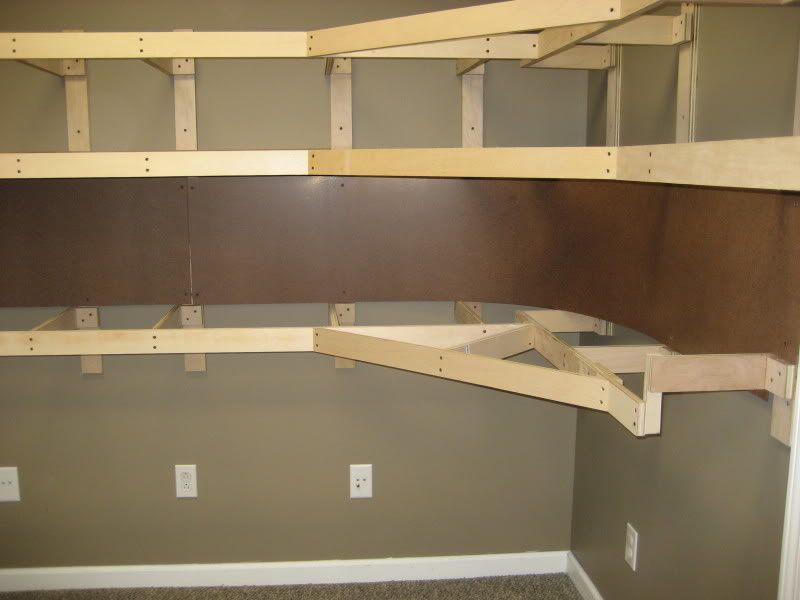
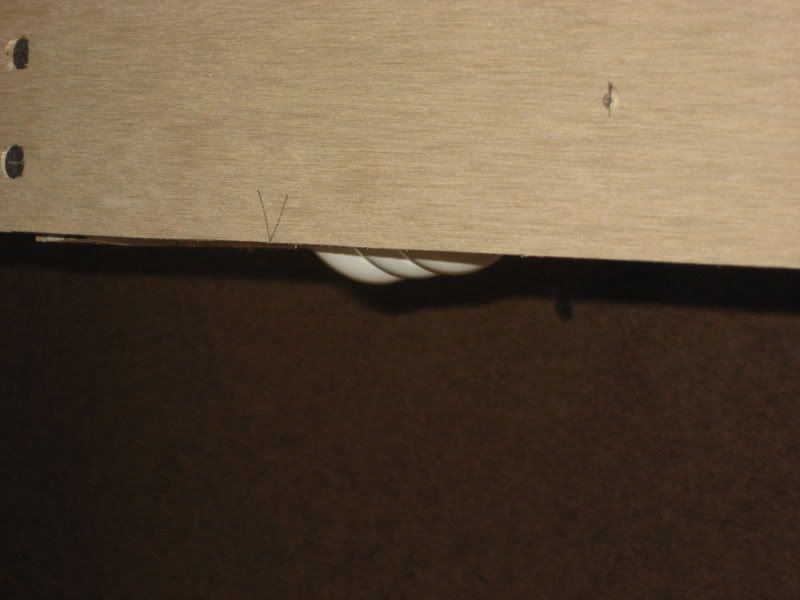
Here is the same fixture viewed from the front (from the aisle). You can see how part of the bulb is below the bottom of the joists and the front boards allowing light to reach the upper part of the backdrop. The bulb will not be visible from the front once the fascia boards have been installed:


Here is a low level view of the same area with the layout lights turned on and the room lights turned off. You can again see how the lights "peek" below the benchwork and provide even lighting on the backdrop. Again, the lights will be blocked on the front of the layout once the fascia boards are installed. 
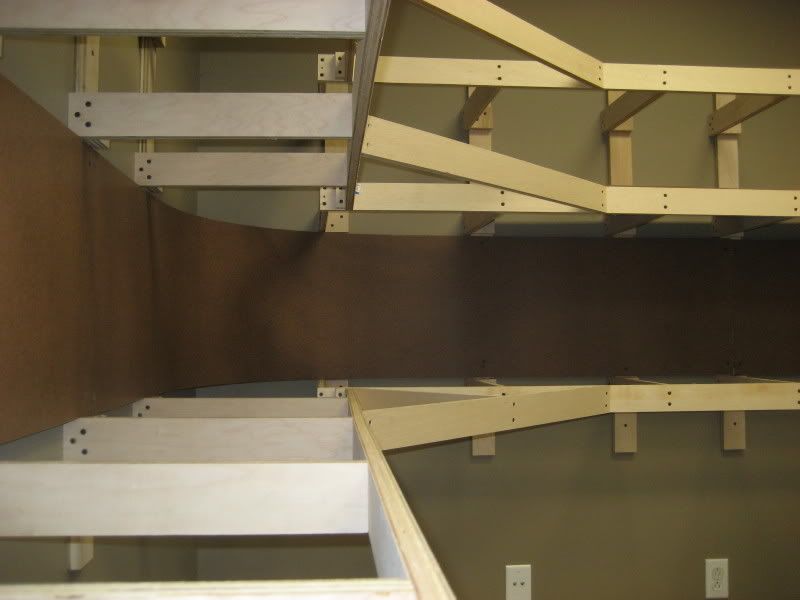
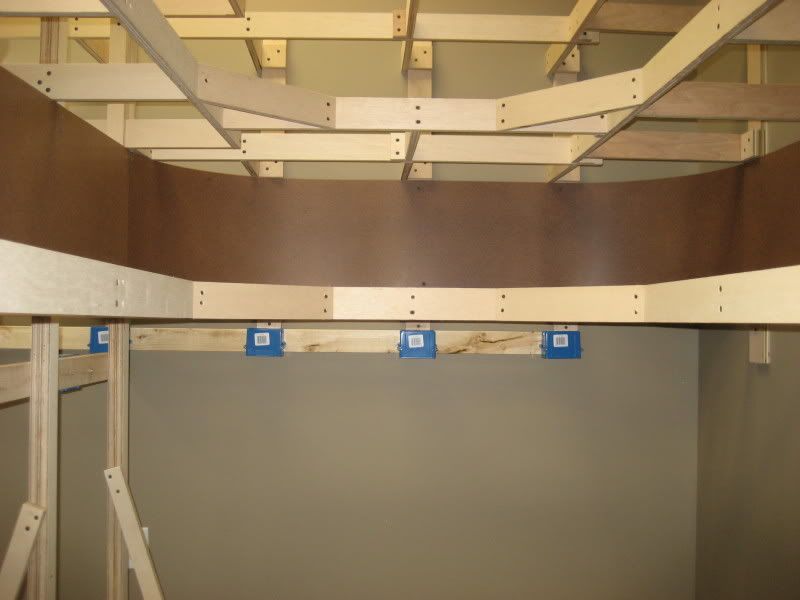
Note: Although there appears to be some dark areas in the backdrop in this photo (and others), this is mostly due to color irregularities in the 1/8" Masonite panels; not dark spots due to improper lighting:


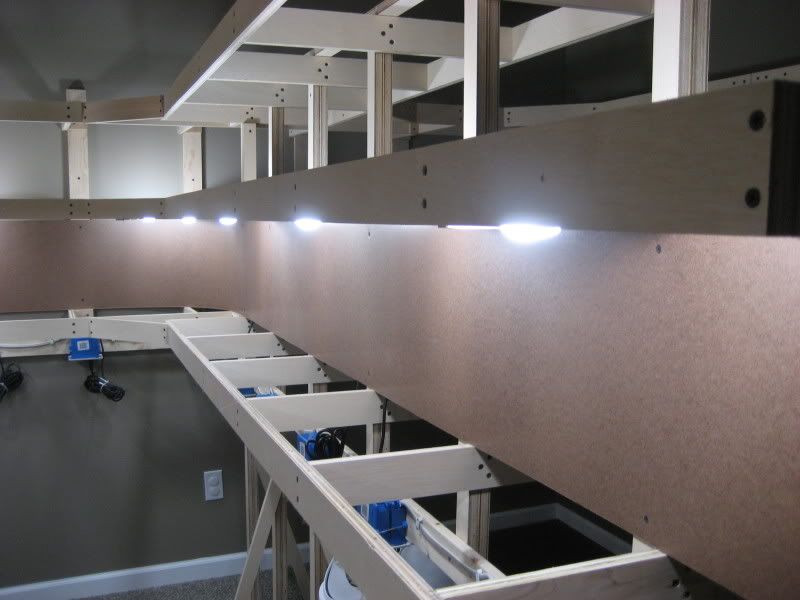
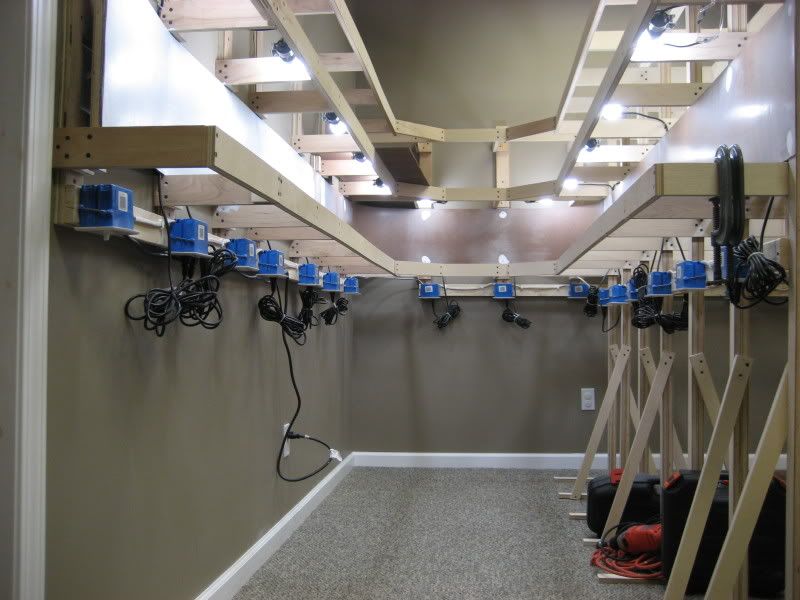
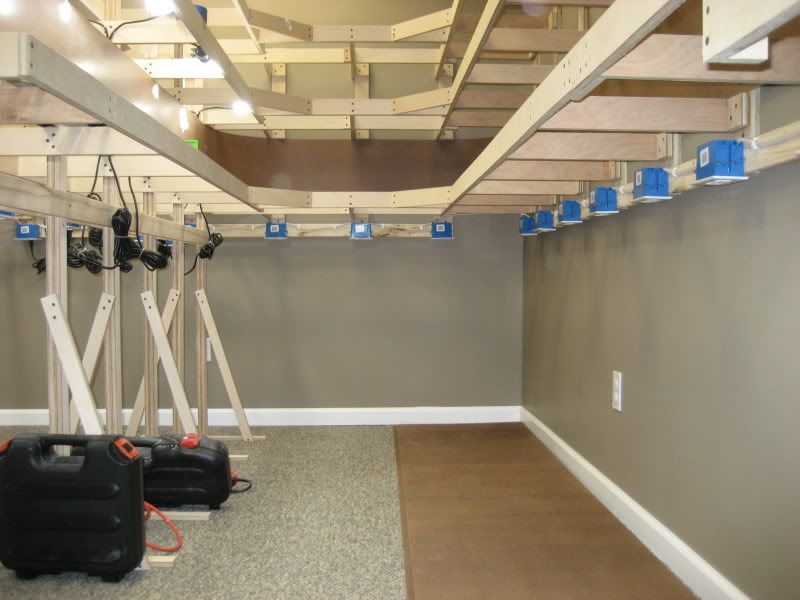
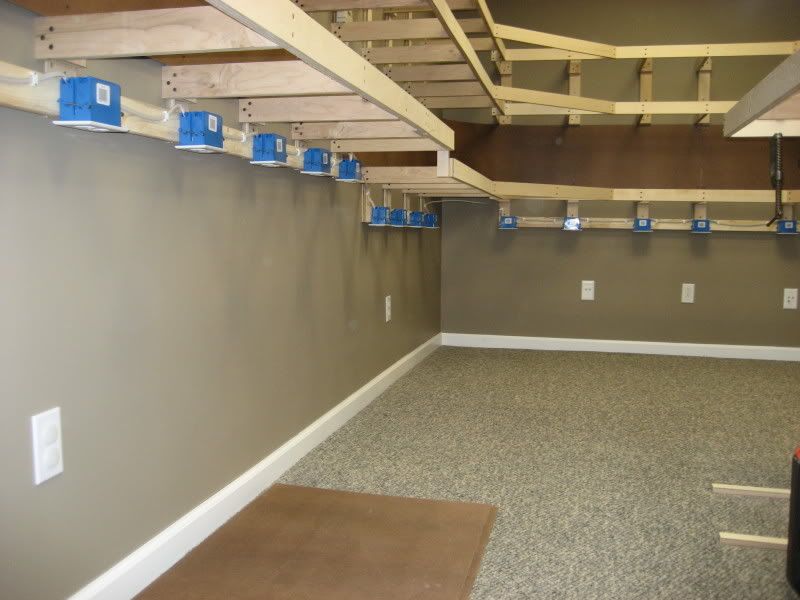
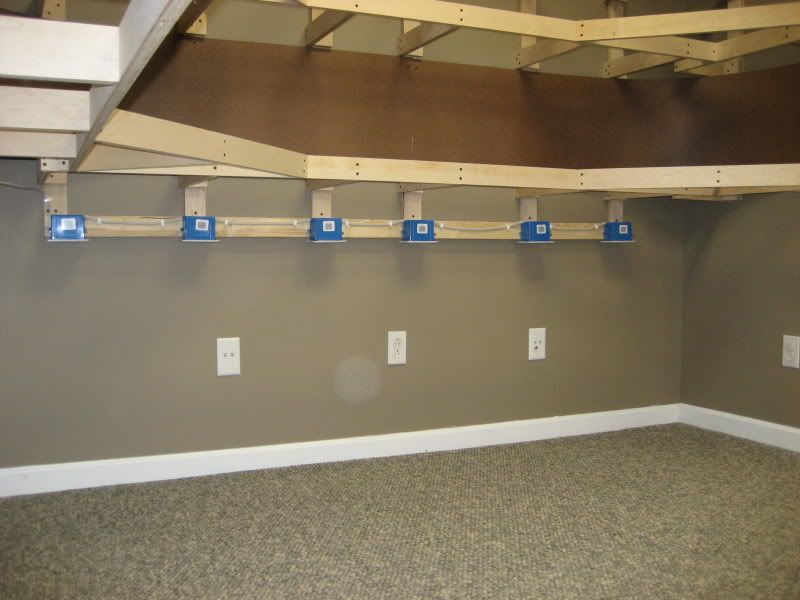
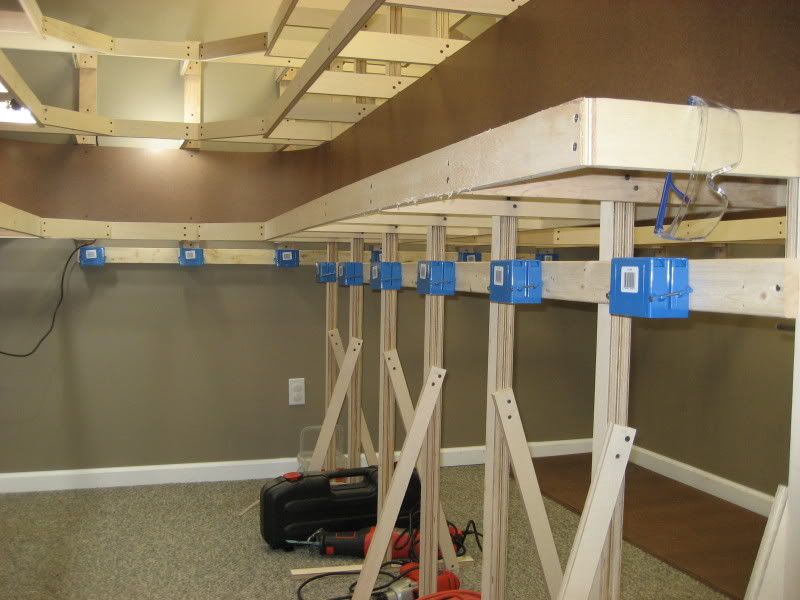
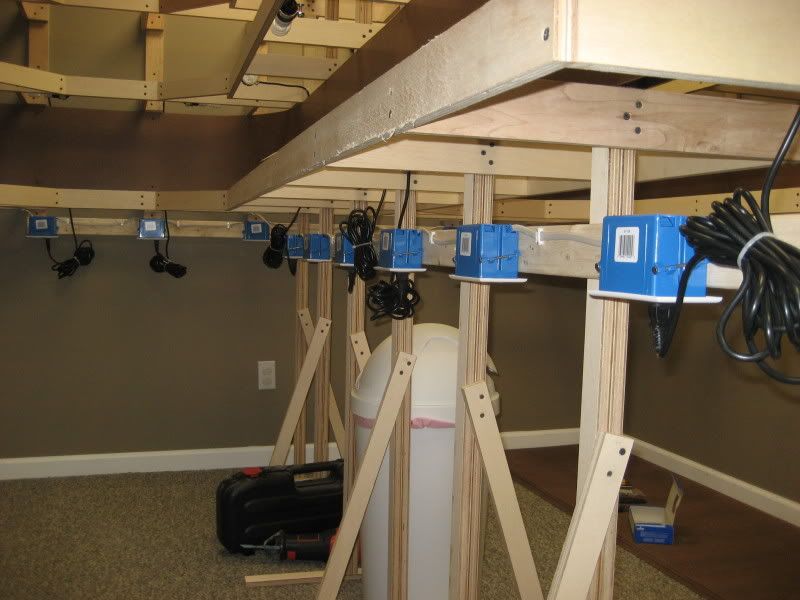
Here is a view of the finished "power strip" that distributes 120v power down the layout peninsula. The outlets and coiled up bundles of cords will be hidden by the skirting that will eventually be installed:


About halfway through installing the lighting shown in the above pictures, I started to realize that I was not happy with the color or brightness of the bulbs I had selected. For some reason, I thought I had read that most modelers preferred the "soft white" CFLs, so I selected the following 40-watt CFL bulbs readily available at The Home Depot:


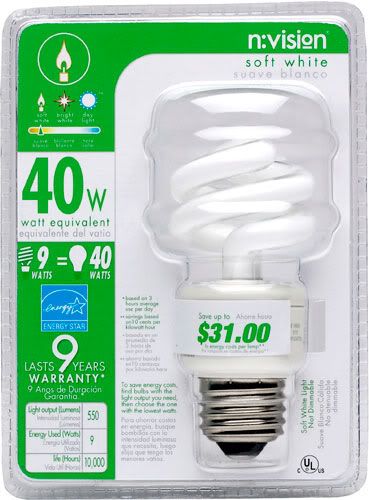
However, I found the light emitted by these bulbs to be far too yellow for my liking. Also, they did not seem bright enough. I went back and researched lighting on the model railroad forums I visit and realized that just about everyone prefers the "daylight" version of CFLs. I went back to The Home Depot and purchased the 60-watt version of the CFLs as shown here:


Big difference! The light color of the "daylight" bulbs appears cooler and cleaner, and the increased wattage provided the necessary boost needed to get the light level up to acceptable levels. All of the above photos were taken with the 60-watt "daylight" CFLs installed.

.

Thursday, September 4, 2008

Layout Progress as of 9/4/2008

This past week the family actually got out of town for a quick vacation down to Callaway Gardens over the Labor Day weekend. As a result, I actually went four straight days without even going into the train room (Gasp!) I have made a little bit of progress since the last report, mostly cutting and installing the 1/8" Masonite backdrops on the lower level.

Here is a picture showing the backdrops installed on the lower level in the Emerson, GA area. As you can see, this section also has some initial lighting installed. You can also see how the cords for the light fixtures are simply routed in the gap behind the backdrop:


Another view looking down the aisle where Cartersville, GA will be located on the lower level:


Backdrop installed in the area where the CSX W&A Subdivision crosses the Etowah River:


Looking from Cartersville, GA towards the Etowah River valley area. You can clearly see how the backdrops are curved to fit into the corners:


A view of the backdrop installed up to the doorway. The backdrop to the right of the doorway has not been attached because the light switch for the room lights is located behind it. I will probably curve the backdrop slightly forward here and permanently attach it to a vertical framing member (yet to be installed) so you will still be able to reach behind the backdrop to turn the room lights on/off:


With the backdrops in place, I continued installation of the "power strip" of outlets that will go around the bottom of the layout walls and peninsula. Here are the new boxes installed on the peninsula:


More new boxes ready to be wired at the end of the Cartersville, GA aisle:


.