
So jump in I did. Using 4" foam rollers, I rolled on the light blue color over the lower 2/3 of the backdrop and a band of the darker blue across the top 1/3. I only rolled the paints on to about a 2' section of backdrop at a time so that the colors would still be wet for the blending step that follows. Next I used a cheap-o 3" nylon brush to blend the two wet colors together, first using diagonal strokes and then smoothing everything out with some horizontal strokes. Everything looked pretty good, except somehow my transition between the light and darker blue colors was happening right about halfway up the backdrop. This meant that most of my foreground scenery would actually completely hide the lighter blue area, making the whole "two blue" process a waste of time.
To fix this, about halfway through the project I changed the technique a bit. Instead, I first rolled the darker blue along the top of the backdrop, making it no wider than the 4" roller. Then I filled in the entire lower area with the lighter blue, even overlapping the darker blue by about 1/2". I then did the same blending using the 3" wide nylon brush, this time being careful to keep the blended band to no wider than about 4". I then smoothed it out with the horizontal strokes and made a few passes with a foam brush to remove any brush strokes. For whatever reason, this raised the blue-to-blue transition zone to about 4" from the top of the backdrop, which is right where it should be. Other objects such as clouds, hills and mountains will be painted on after the track is in place so the correct placement and perspective occurs.
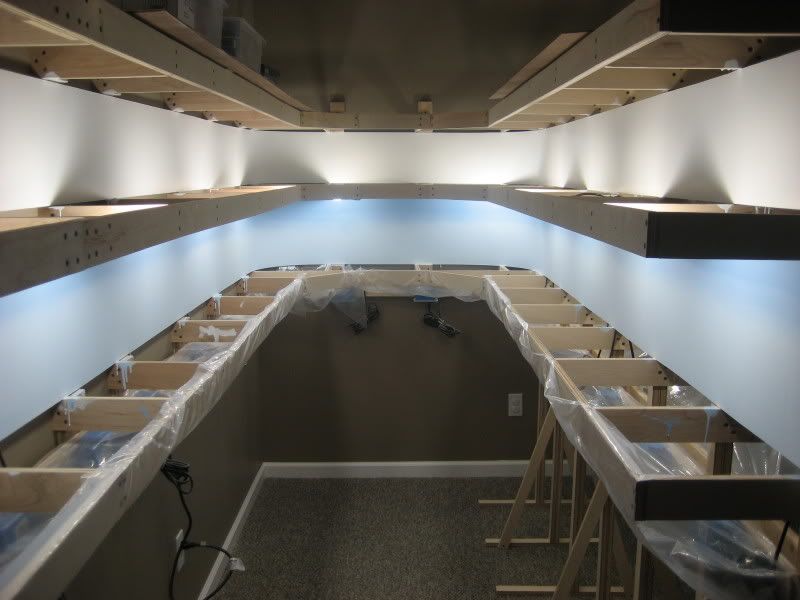
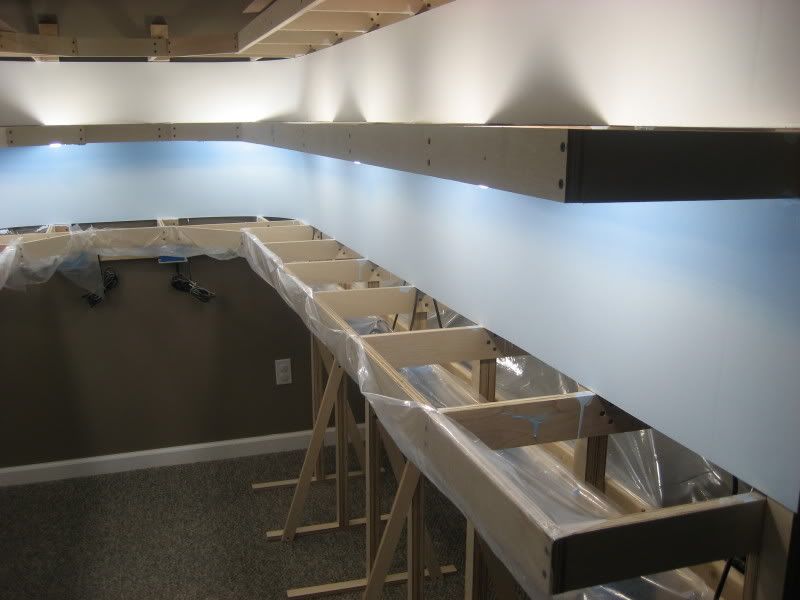
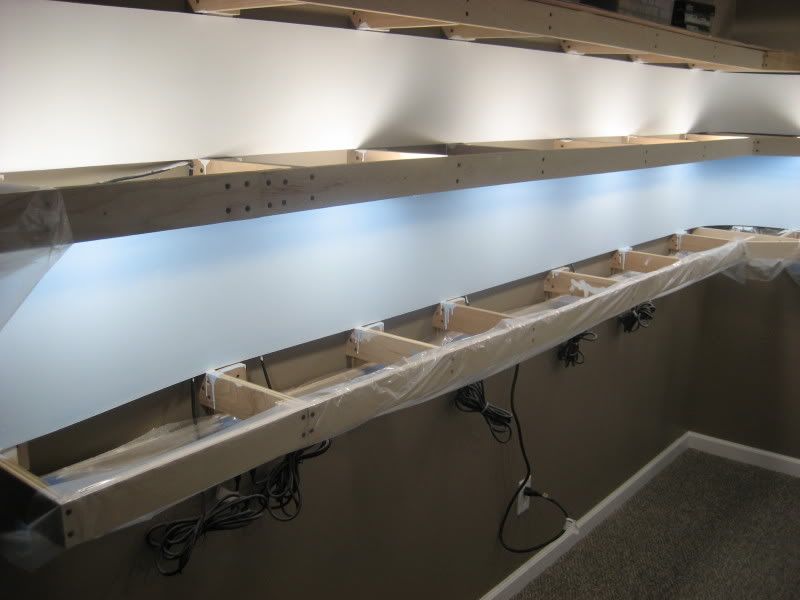
Here are some photos of the completed sky painted on to the backdrop in the Emerson, GA area of the layout (lower level). These pictures also made me realize I need to actually work on my layout photography skills, since the default settings of the camera lose a lot of the detail and depth of the scene:
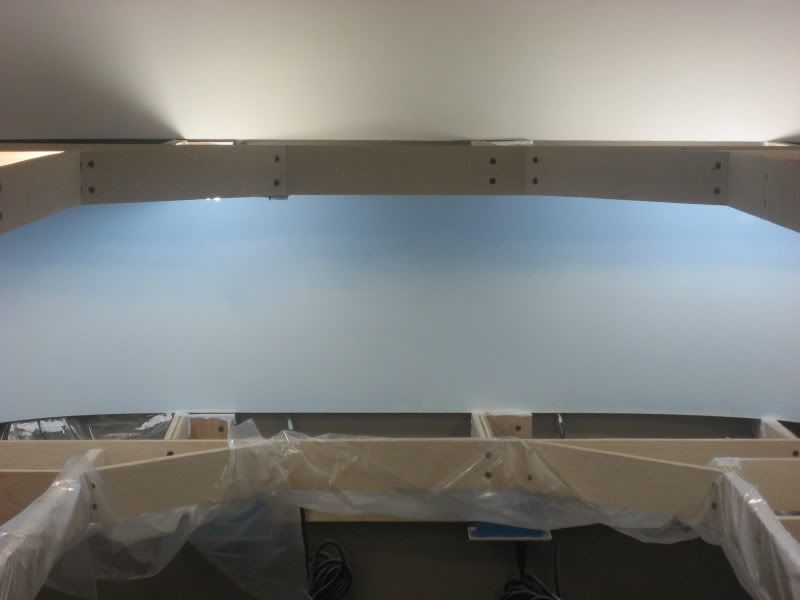
A closeup of the backdrop with the two shades of sky blue applied:
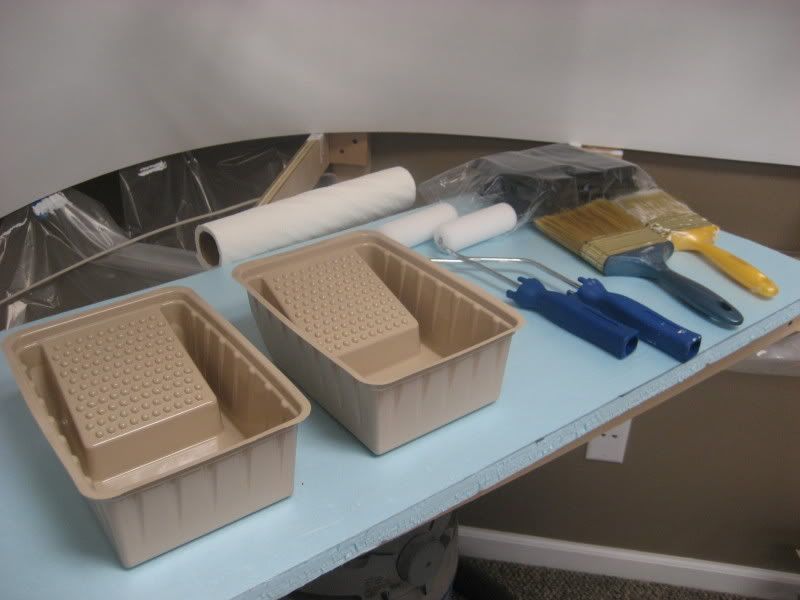
The tools used to paint the sky on the backdrop. The 4" foam rollers take a little getting used to, but produce a super smooth finish:
.

