
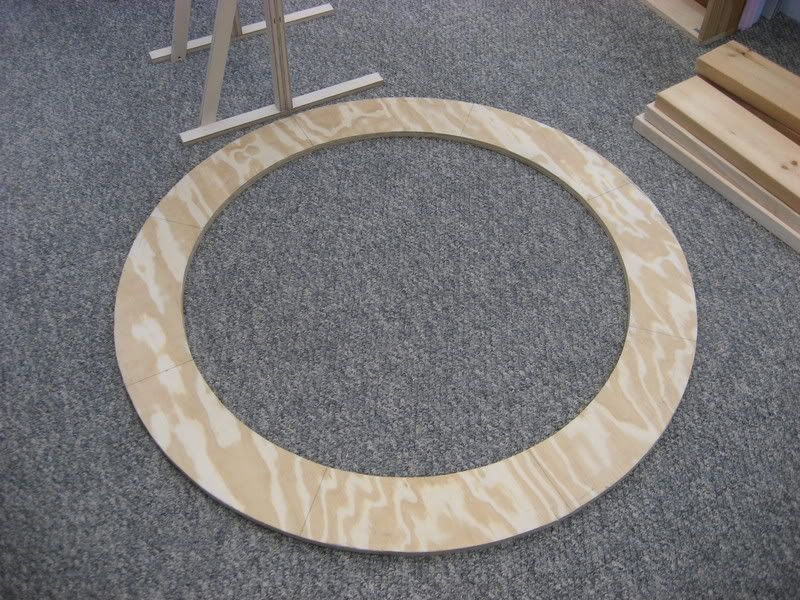
A template was drawn on two 4x4' sheets of 3/4" A-C grade plywood. The circles that make up the bottom and top rings of the helix base have an outside radius of 48" and an inside radius of 42 1/2". The 5 1/2" width of the rings was chosen to accommodate the actual width of a stick of 2x6" dimensional lumber. The lines radiating out of the center point of the sheet of plywood indicate where the studs will be mounted to the rings:

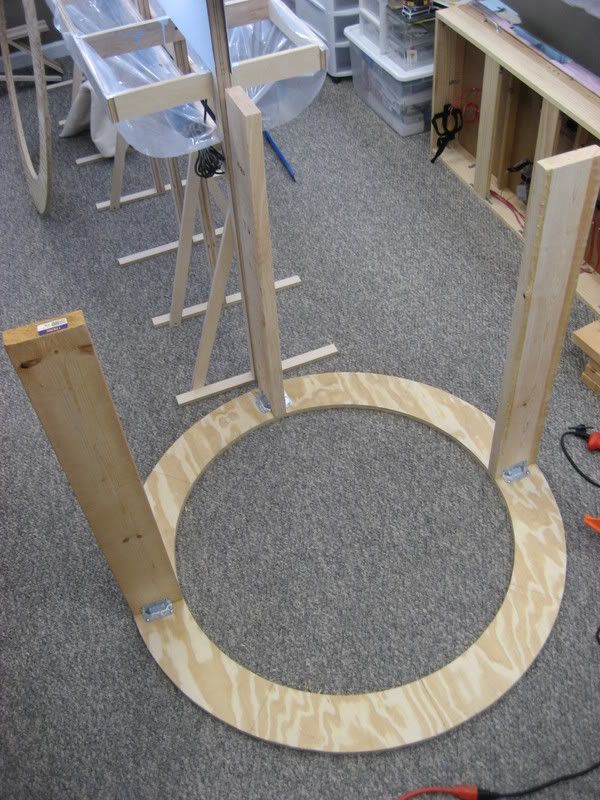
After the rings have been cutout, the bottom ring is placed where the helix will be located to obtain a test fit:
Next, the first three studs are attached to the bottom ring using angle brackets and screws:
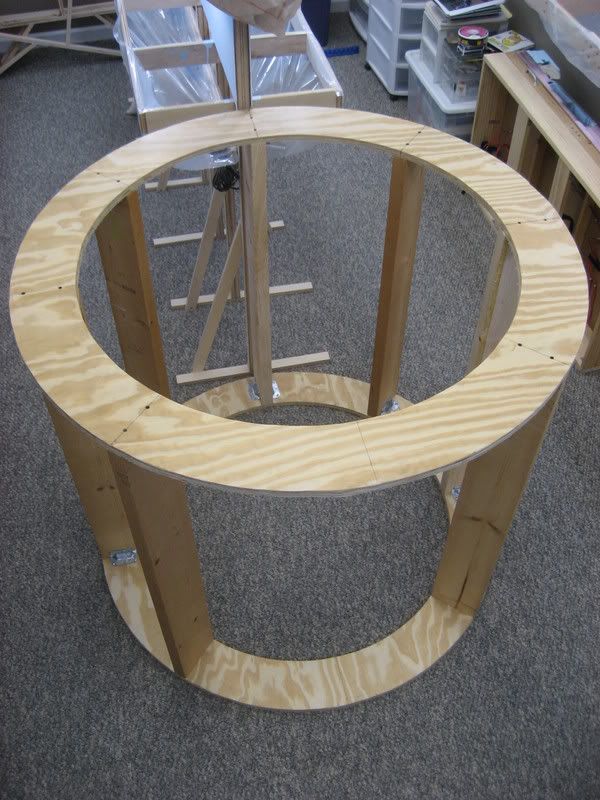
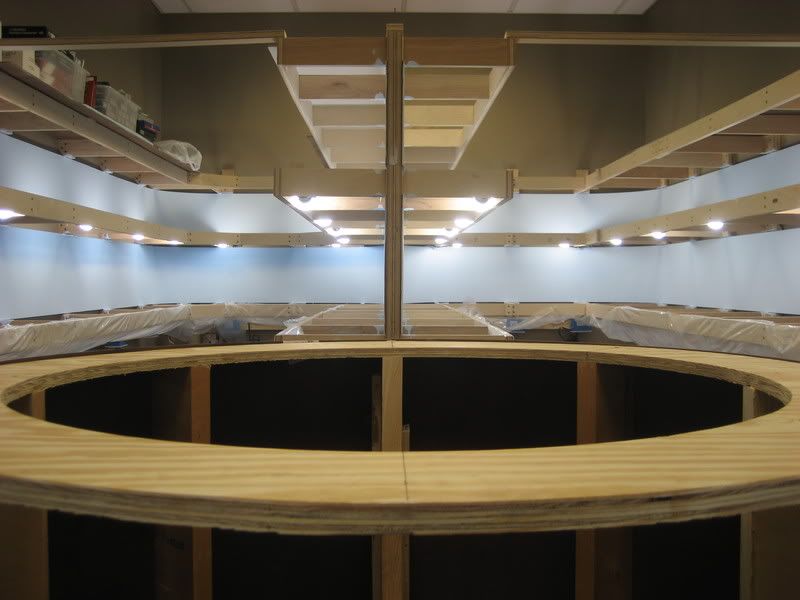
Then the top ring is placed on top of the first three studs and secured using a pair of drywall screws driven down into the studs. The remaining studs are then added to fill in the gaps. The missing stud at the front is actually omitted intentionally to allow access to the inside of the helix:
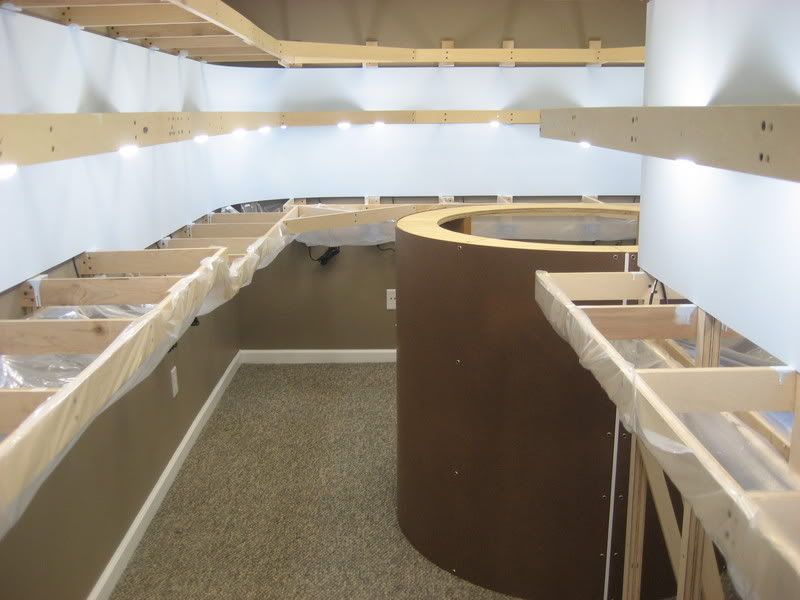
The outside of the helix base is sheathed using 1/8" tempered hardboard attached with drywall screws and finishing washers:
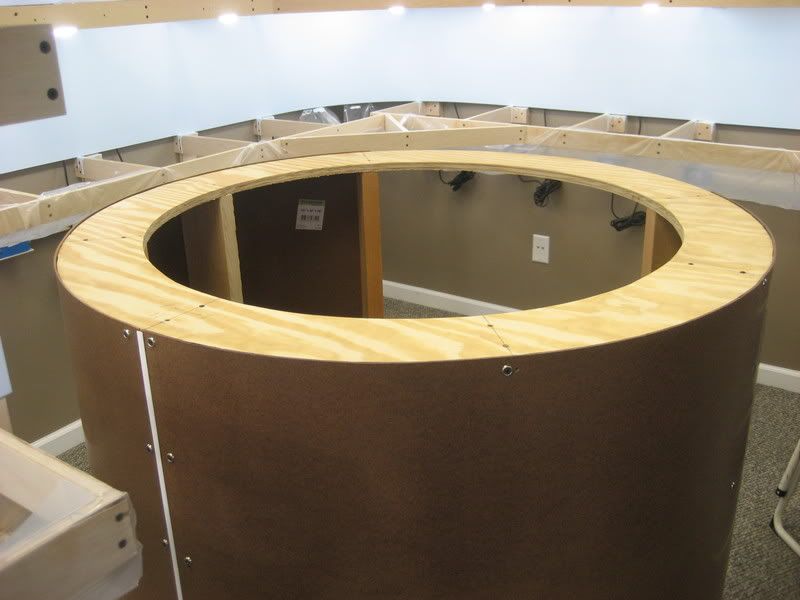
Here are a few overall views showing how the completed helix base fits into the layout. Although the aisles narrow down to about 20" wide to accommodate the helix, this is still ample aisle width to allow a single operator to easily slip past:

.

