
Originally, I planned a 36" diameter helix but switched to 48" at the last moment when I thought the extra size would not make a difference (wrong!) and the added circumference would reduce the grades from about 2.5% to about 1.5%. I have now rebuilt the helix base according to the original plan using the 36" diameter base, which yielded an additional 6" of aisle space on each side. I made this decision based on two tests:
(1) I moved the previous jumbo helix base (48") over six inches and could walk comfortably past it without turning sideways or brushing against it or the benchwork across the aisle.
(2) I broke out some track and rolling stock and determined I can go with a 2" separation between levels of the helix instead of the planned 2.5" separation. This change will result in about a 2.0% grade in the helix, much better than the originally planned 2.5%. With 2" spacing between levels, there will be at least 0.25" of clearance between the tops of my tallest cars and the roadbed above. Not an abundance of space, but should not be a problem because I have full access to both tracks from inside and outside the helix.
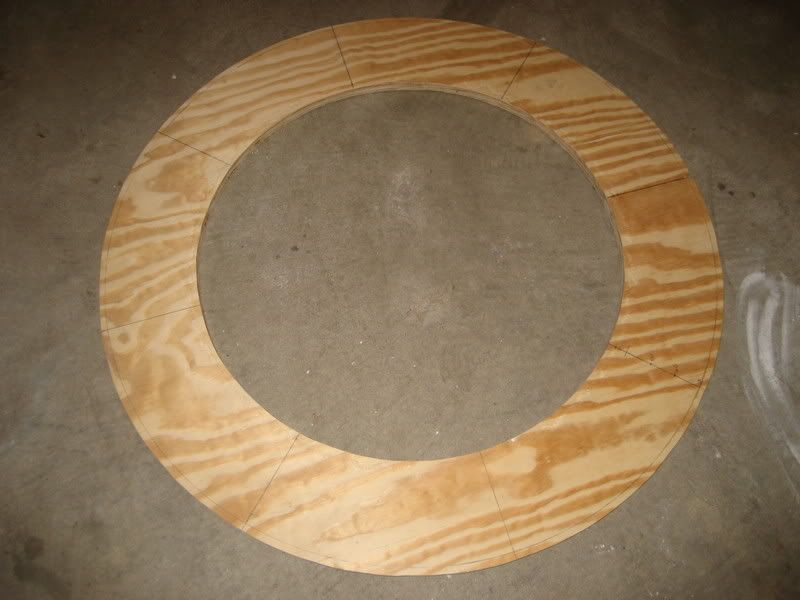
I started the rebuild by cutting the new top and bottom rings out of the circles of plywood leftover from cutting the rings for the old larger helix base. Since I could do this, no additional materials needed to be purchased. Plus, as an added bonus, the lines were already drawn across the circles from the previous cuts! All I had to do was mark the inside circle radius and make two cuts (one per circle):
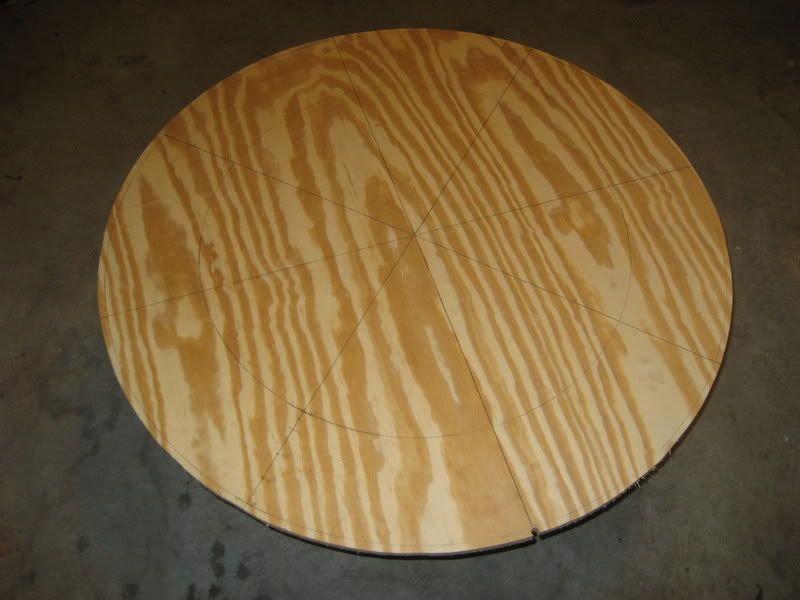
The old inside radius of the large helix base rings was actually 18.5" and the new outside radius of the smaller helix base rings should be 18", but since the difference was minimal, I did not cut off the outer 1/2" of the rings. This saved two long circular cuts with the sabre saw, which was just fine by me! You can see the actual 18" radius drawn near the outside edge of one of the new rings:
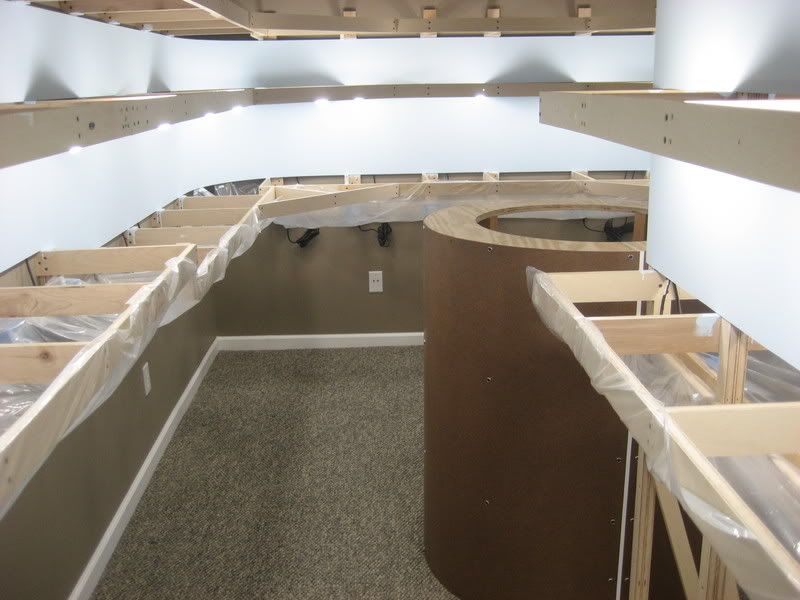
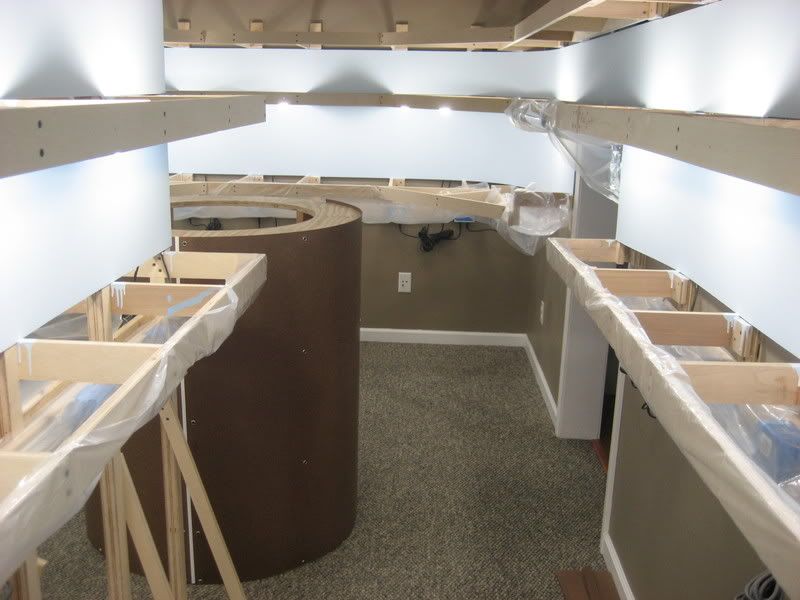
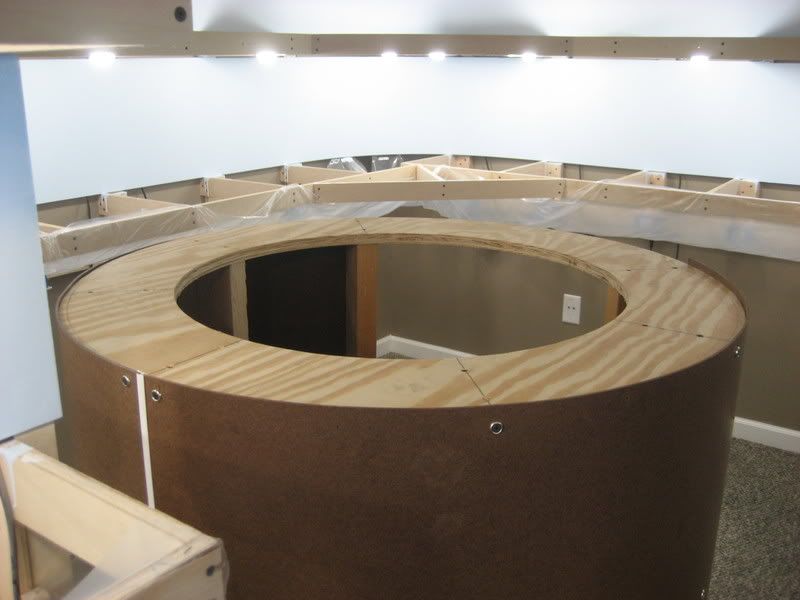
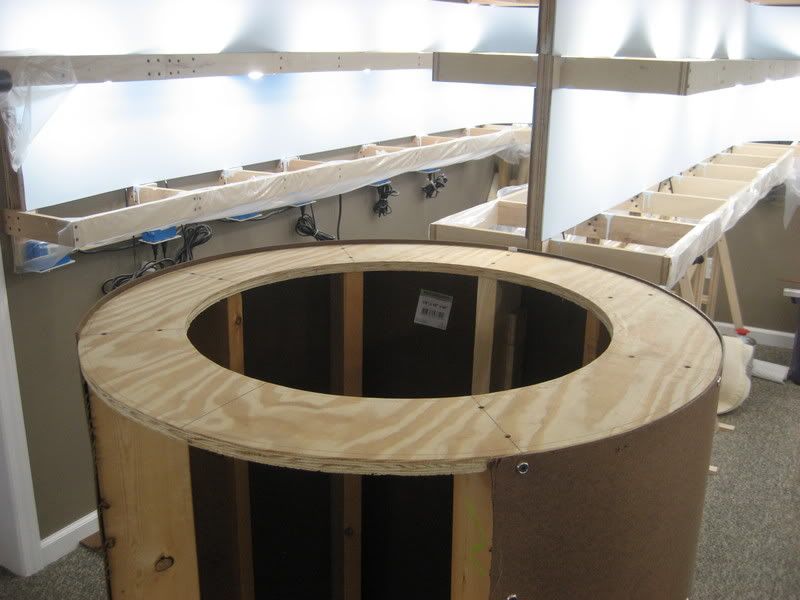
Finally, a few different views of the completed helix base. Be sure to take a look at the previous post for a size comparison to the old "jumbo" helix base:
.

