
To get started attaching the new splines, I first ran a bead of wood glue along the face of a spline and spread it evenly using a cheap foam brush:

Next, I attach the new spline to the first spline on the opposite side of the nails that the first spline is clamped to:

I continue attaching along the length of the new spline until the entire length is attached to the first spline. After the new spline is attached, clamp the new spline in place. Lots and lots of clamps:

The spring clamps I am using came from the local Harbor Freight Tools. If you have never been in one of these stores, they are a model railroader's dream come true. Discount tools priced low, low, low. These spring clamps usually sell for $0.99 each but can often be found on sale for $0.33 each--what a bargain! I purchased 40 and I wish I would have got 40 more:
During the process of gluing on a new spline, a lot of the glue will get squeezed out during the clamping process. Be sure you protect the floor of the room or whatever else is below your benchwork. I kept my plastic sheeting in place that I used to keep the carpet safe when I was painting the backdrops. Here you can see just how messy this can be:

Where two splines come together, I just butt their edges against each other. When the adjacent spline is installed, this will permanently secure the butt joint. In this picture you can see a butt joint in the first spline that has been secured by the installation of the second spline. During the drying process, there is a clamp on this joint that has been removed so I could take this picture:

In the South Emerson area, there is a fairly long straight section of track. To make sure the roadbed is straight, I purchased a 3' long section of aluminum angle:
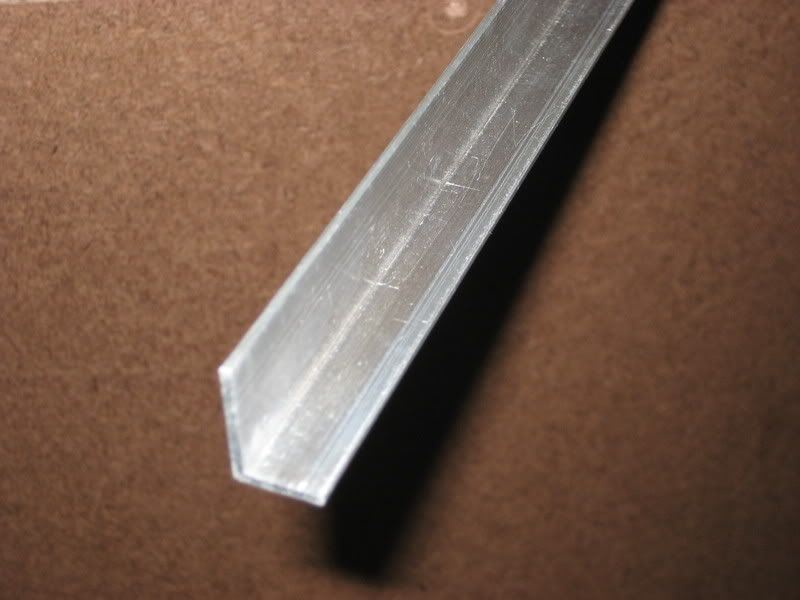
I then clamped the aluminum angle between the splines and the finishing nails as I built the roadbed along the straight section. Without this aluminum angle, the roadbed could have slight curves in it. Here is a view of the aluminum angle used to keep the splines straight at South Emerson:

One final view of the clamp party as I began to install the third spline:

.

