
I picked up an 8x4' sheet of the 3/16" thick Masonite and had the store rip it into two 8x2' sheets for easier transport home. I then ripped the Masonite into 3/4" wide, 8' long strips. Here are the first 20 strips:

You may have heard that cutting Masonite produces a lot of dust, and here is visual proof that I will be spending some time with a broom and the ShopVac this weekend:

I needed a way for the spline roadbed to join to each side of the dropdown gate/bridge across the entrance to the train room. I cut a groove in each end of the bridge deck to accommodate a 1/8" thick spline since that was the thickness I was planning to use at the time the bridge was built. I will still use a short piece of 1/8" spline to join the roadbed to the bridge, but the 1/8" spline will just provide a gluing surface and alignment point for the 3/16" splines. I also built a small "shelf" for the splines to rest on where they end at the bridge. The shelf will keep the tops of the spline roadbed aligned with the surface of the bridge deck. Here you can see the shelf, which is built out of a small scrap of 1x2":

For singe track roadbed, I used scrap pieces of 1" wide strips of 3/4" plywood (basically a narrowed down 1x2" board). I marked a centerline on the riser and temporarily clamped it in place on a joist, making sure the centerline on the riser was lined up with the mark I had previously made on each joist to identify the track centerline:


I then made sure the top of the riser was level both horizontally and vertically:


I then secured the riser to the joist with two screws (into pre-drilled & countersunk holes). I also drilled a small hole into the top of the riser and tapped in a 6d finishing nail that will be used to hold the splines in place while they are being laminated. Here is the first completed riser with the gate/bridge in the background:

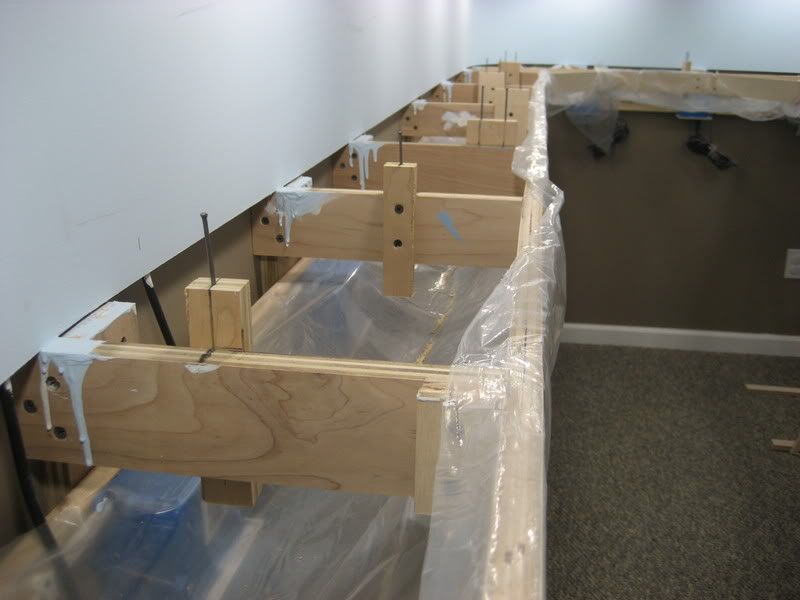
I then repeated the process with the remaining risers in the Emerson area. I used scrap pieces of 1x3" for the risers in the double track area (main & siding). Here is a look at the finished risers in North Emerson:
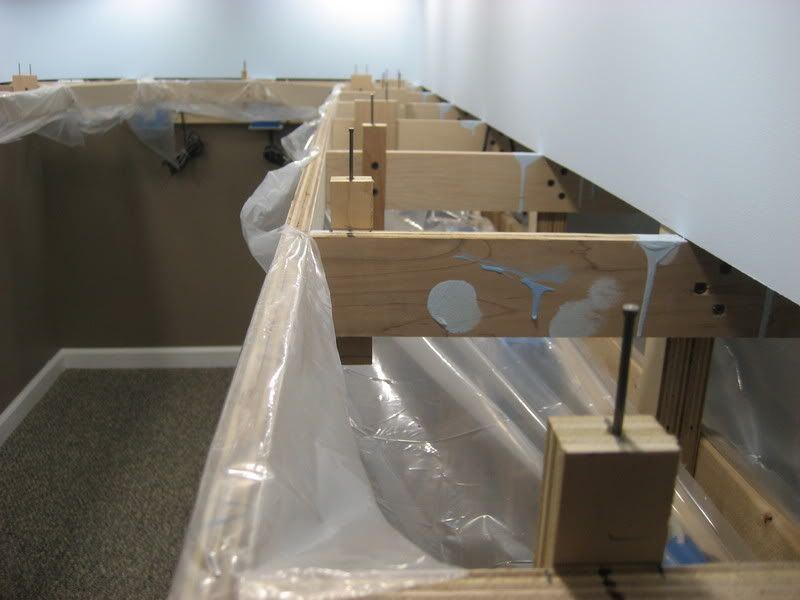
Completed risers in South Emerson:
.

