
» Photos
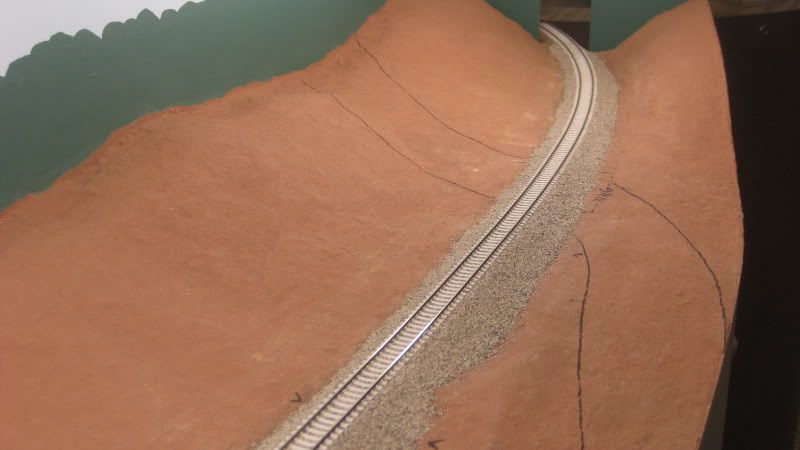
The first step when installing Old Allatoona Road was to draw the outline of the roadway on the layout using a Sharpie marker:
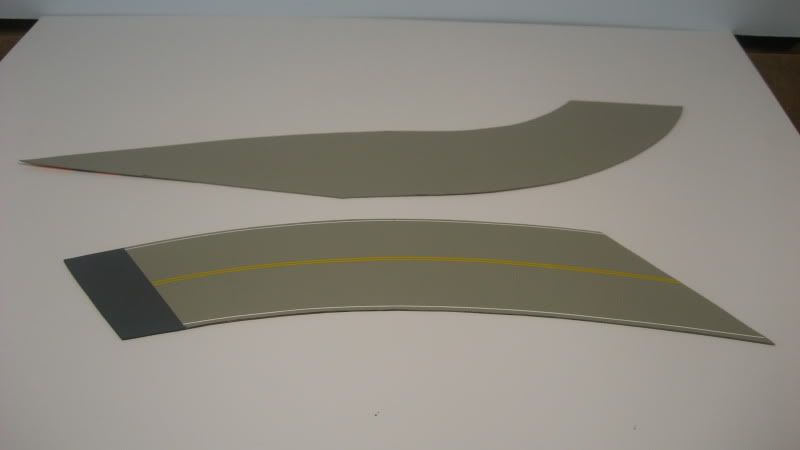
I then transferred the road outline to paper and used the paper as a template to cut the roadway sections out of sheet plastic. I used the same method I described in detail in an earlier post about making roads from sheet plastic. Here are the two sections of painted roadway; one section has been striped using Microscale decal stripes and a band of dark gray paint has been sprayed on to represent fresh asphalt at the grade crossing:
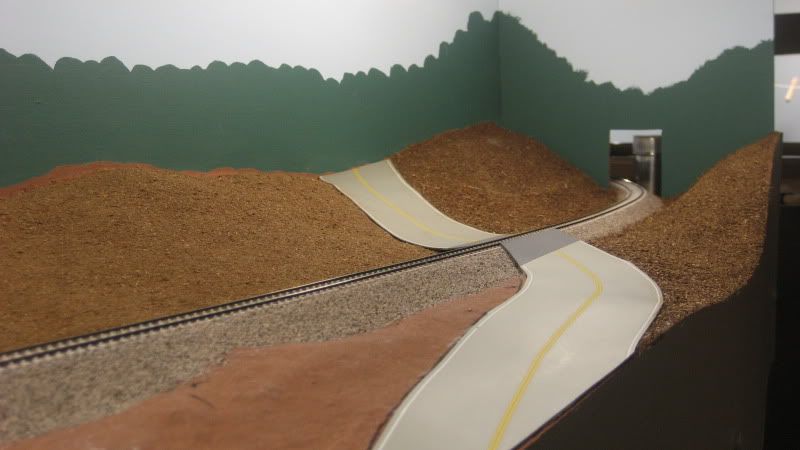
I used LocTite construction adhesive to affix the roadways to the layout. I still need to install the small section of roadway between the rails and weather the lanes using chalk pastels. I will also build up the roadway shoulders using Sculptamold to blend the road into the surrounding terrain:
With the road in place, I was able to begin adding scenery materials to this section of the layout. For the first "layer" of ground cover I am using homemade dirt that was created by collecting dried leaves and grinding them into a fine powder using a coffee bean grinder. The small bits and pieces of leaves left behind in the powder look like small sticks and twigs and makes a great looking base ground cover.
I am using a variation of Pelle Soeborg's wet-in-wet scenery method that he describes in his book Essential Model Railroad Scenery Techniques. This method begins by adding a thin layer of diluted white glue to the layout and sifting on some of the dirt.
After this layer has dried, you sift on more dirt and drizzle the area with wet water. For my wet water, I use a 50/50 mix of tap water and 70% isopropyl alcohol:

Once the entire area has been wetted, you drizzle on diluted white glue. My white glue mixture is a 2:1 mix of plain tap water and Elemer's white glue:

At this point, Pelle Soeborg adds other layers of ground cover such as ground foam and static grass. However, I plan on adding some tall static grass to this area and since I do not yet have my static grass applicator, I stopped after adding the dirt:

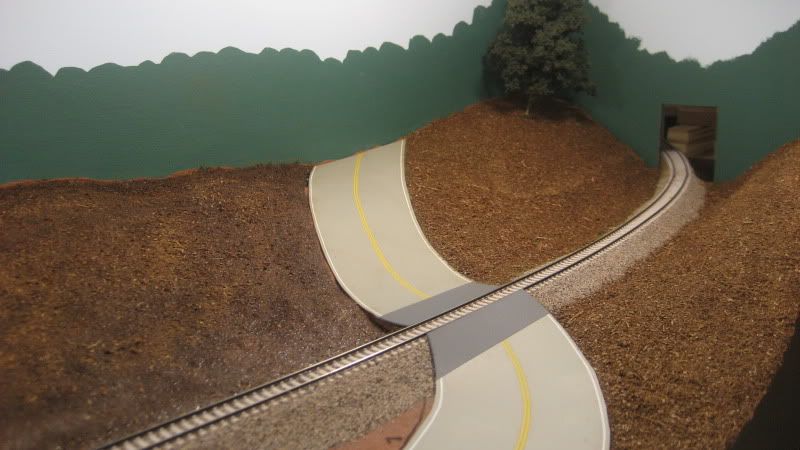
In this photo, you can see the difference between a fresh area of dirt that is still wet (to the left of the road) and completed areas of dirt after they have dried (to the right of the road). You can also see a lone tree that has been planted to help me determine the size and color of trees that I need to build for this scene:
Once the dirt layer has dried completely, I will build up the road shoulders using Sculptamold and touch up any ballast and dirt as needed. Then, it will be time for the tall static grass followed by bushes, saplings and trees.
.

