
» Photos
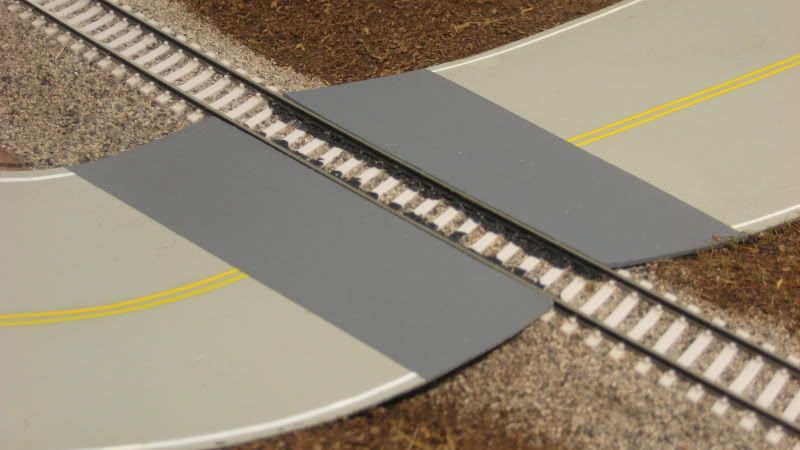
I used Polly Scale Steam Power Black to paint the tops of the ties and spike heads between the rails at the grade crossing. This will hide the underlying trackwork once the roadway is installed between the rials:
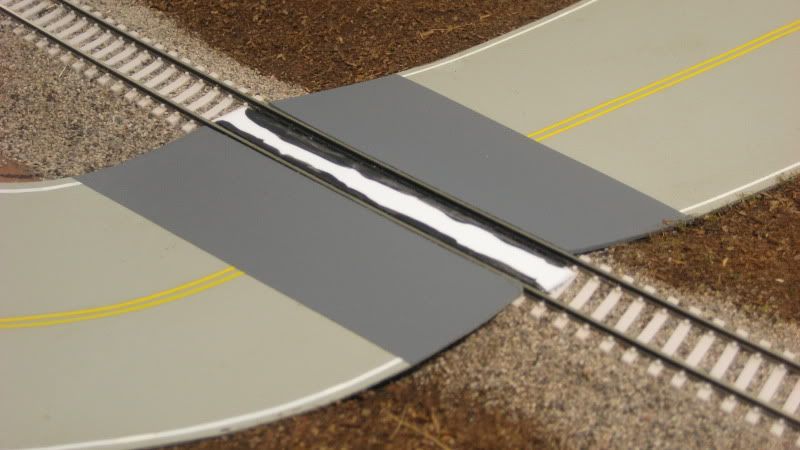
Next, I installed a small strip of plastic between the rails to act as a spacer so that the roadway height between the rails will be correct. I used a small strip of plastic from the same FOR SALE sign used to build the roadway sections. As it turns out, two layers of this plastic are the perfect height for installing the roadway between the rails. I beveled the ends of this plastic strip to simulate the profile of an asphalt road surface. I also painted the outside edges Polly Scale Steam Power Black to hide the otherwise white plastic:
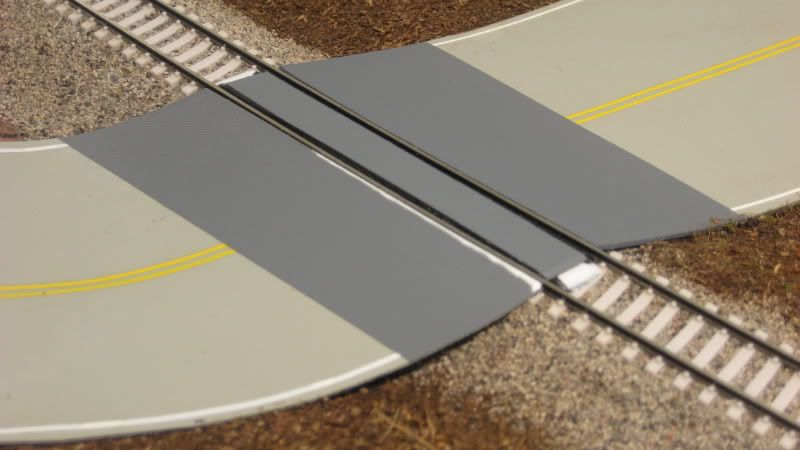
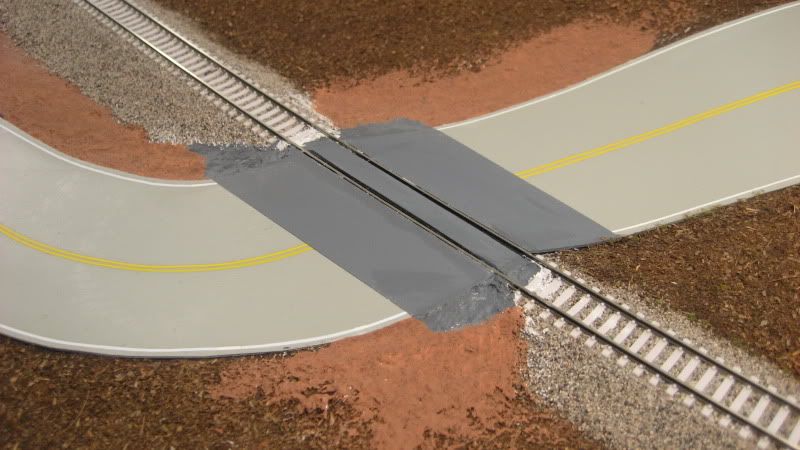
After the "spacer" strip of plastic was installed between the rials, I installed the top strip that is the actual road surface. The strip also has bevelled ends and has been painted Krylon Primer Gray to match the other road sections. You can also see where I had to shave down some of the roadway along the near rail that was interfering with wheel treads as trains crossed the road:
With the center road section installed between the rails, I turned my attention to building up the shoulders of the road leading up to the grade crossing. For this, I used Sculptamold applied with a wood craft stick:
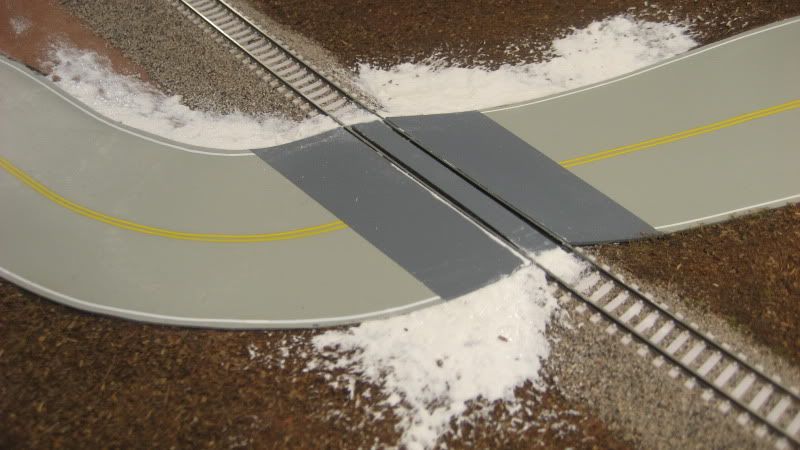
Finally, I used paint to hide the stark white of the Sculptamold:
Next up is adding the actual ground covers and weathering the roadway. This seems like a lot of steps for such a simple project, but I hope this attention to detail pays off with a realistic looking modern grade crossing.
.

