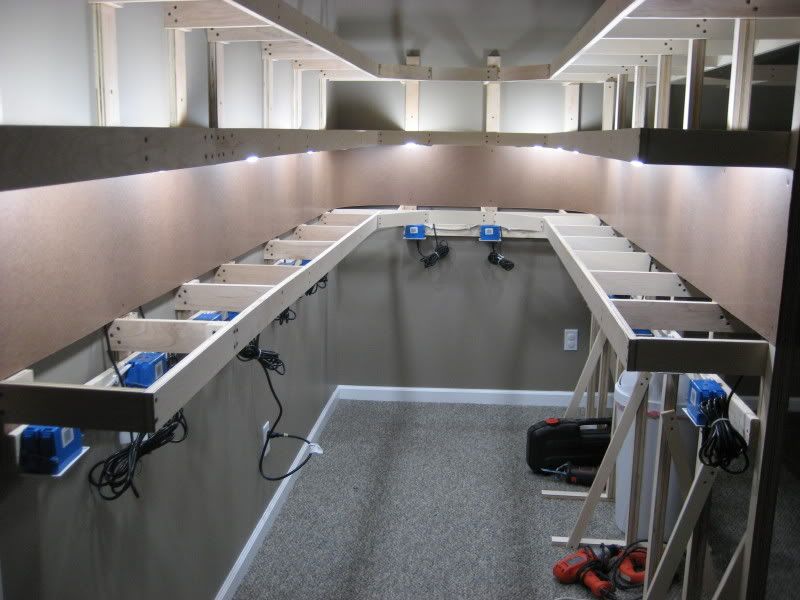
Everything looked pretty good, except for some dark areas towards the upper part of the backdrop in a few spots. This was happening because some of the lights were installed immediately adjacent to a joist, which was basically blocking the light from the top part of the backdrop on the opposite side of the joist from the light. To solve this problem, I simply rotated the entire light fixture so that the bulb would be moved down below the bottom of the joist. This placement of the fixture resulted in much more even lighting on the backdrop. Here is a view of one of the fixtures from behind showing how the bulb has been rotated downward:
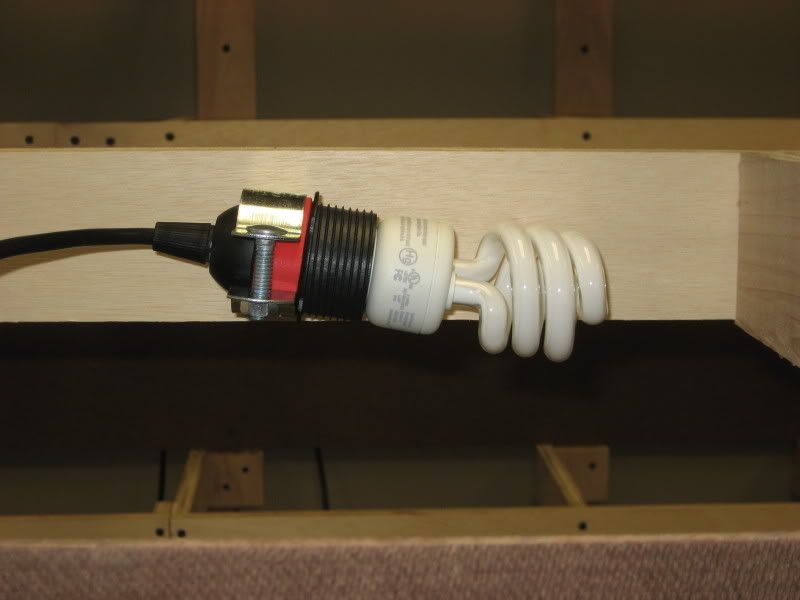
Here is the same fixture viewed from the front (from the aisle). You can see how part of the bulb is below the bottom of the joists and the front boards allowing light to reach the upper part of the backdrop. The bulb will not be visible from the front once the fascia boards have been installed:
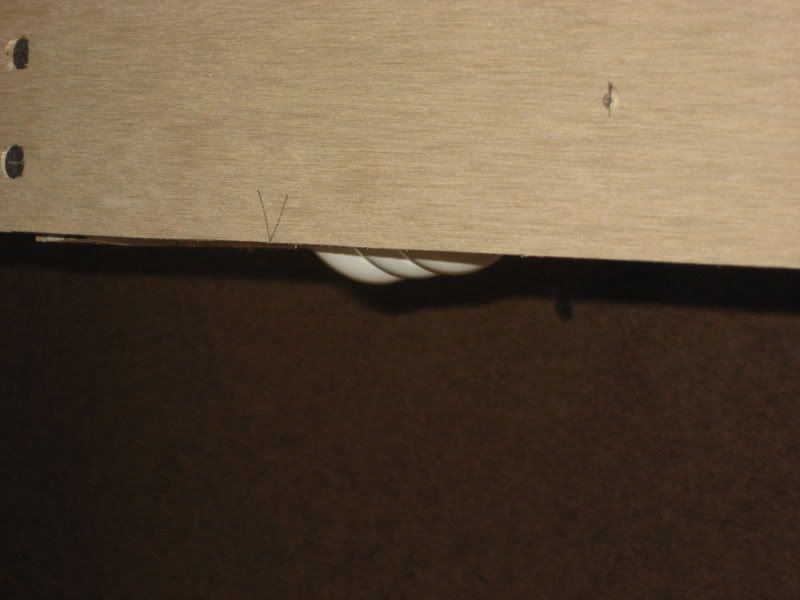
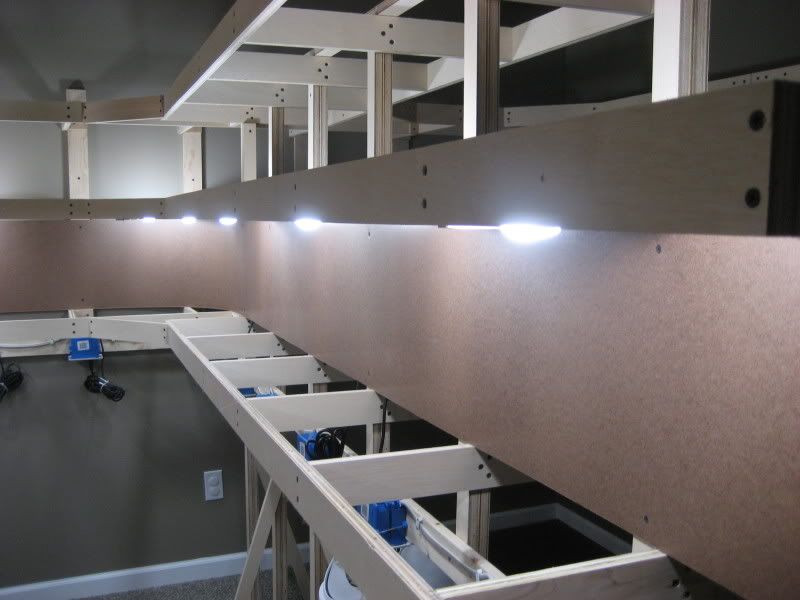
Here is a low level view of the same area with the layout lights turned on and the room lights turned off. You can again see how the lights "peek" below the benchwork and provide even lighting on the backdrop. Again, the lights will be blocked on the front of the layout once the fascia boards are installed. Note: Although there appears to be some dark areas in the backdrop in this photo (and others), this is mostly due to color irregularities in the 1/8" Masonite panels; not dark spots due to improper lighting:
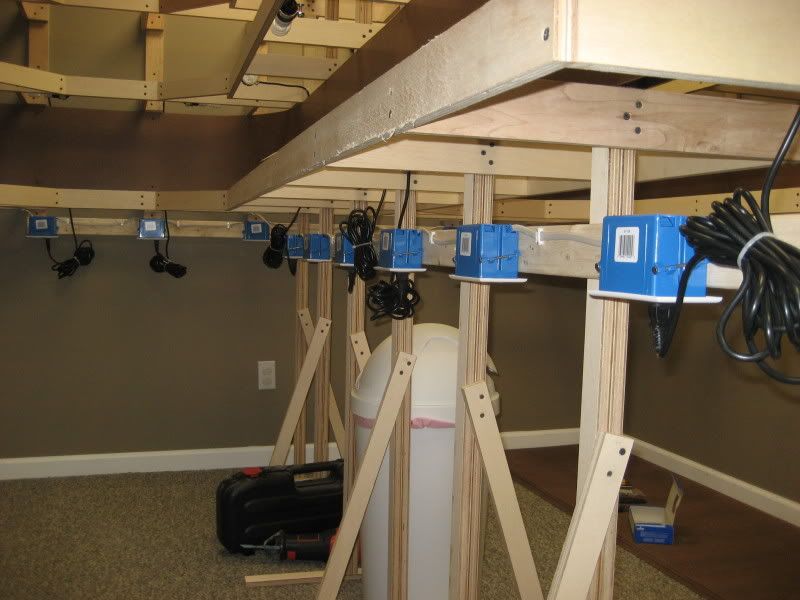
Here is a view of the finished "power strip" that distributes 120v power down the layout peninsula. The outlets and coiled up bundles of cords will be hidden by the skirting that will eventually be installed:
About halfway through installing the lighting shown in the above pictures, I started to realize that I was not happy with the color or brightness of the bulbs I had selected. For some reason, I thought I had read that most modelers preferred the "soft white" CFLs, so I selected the following 40-watt CFL bulbs readily available at The Home Depot:
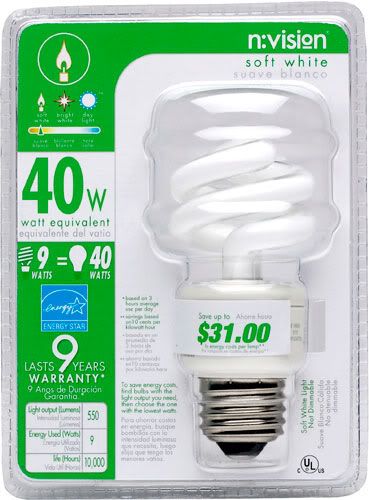
However, I found the light emitted by these bulbs to be far too yellow for my liking. Also, they did not seem bright enough. I went back and researched lighting on the model railroad forums I visit and realized that just about everyone prefers the "daylight" version of CFLs. I went back to The Home Depot and purchased the 60-watt version of the CFLs as shown here:

Big difference! The light color of the "daylight" bulbs appears cooler and cleaner, and the increased wattage provided the necessary boost needed to get the light level up to acceptable levels. All of the above photos were taken with the 60-watt "daylight" CFLs installed.
.


