
My backdrops are constructed from 1/8" thick sheets of Masonite hardboard. This material comes from the building supply store in standard 8x4' sheets, so unless your backdrop is less than eight feet wide, you will have joints where two sections of the hardboard butt together. These joints need to be filled with drywall compound and sanded to a smooth finish so they will not be visible on the completed backdrop. The screw holes need the same treatment. If done right, the result will be a continuous smooth surface upon which the backdrop can be painted. For a detailed post on how I finished the joints and screws on my backdrop, take a look at this detailed HOW-TO article that I have posted.
Photos
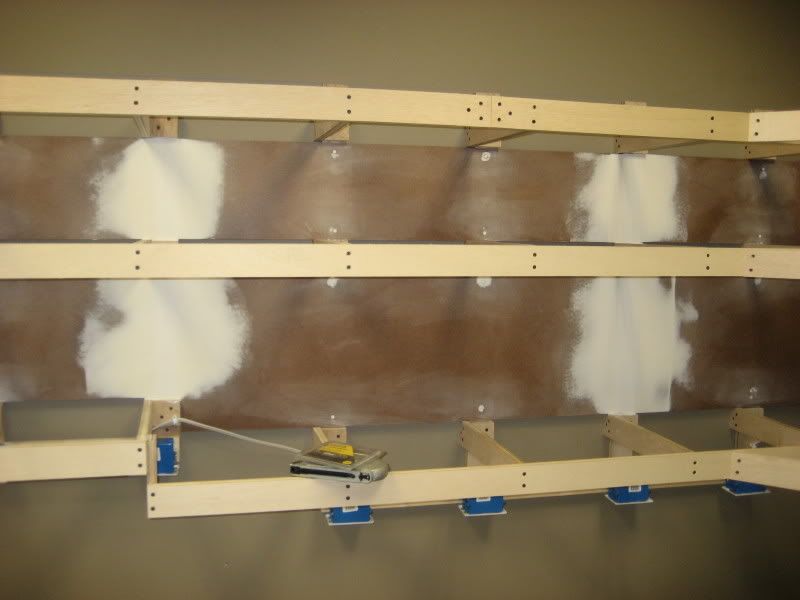
Looking down the left aisle you can see how all of the backdrop joints and screw holes have been filled and sanded prior to applying primer and paint:

The Cartersville/Etowah River area showing two joints on each level. You can see how the edges of the mud covering the joints have been feathered out so that they will not be visible one the backdrop has been primed and painted:
Another view of the finished backdrop joints, this time focusing on the middle level as it crosses the doorway. Notice how the middle level will travel across the doorway uninterrupted while the break in the lower level will feature a swing-out gate to allow access into the layout room:
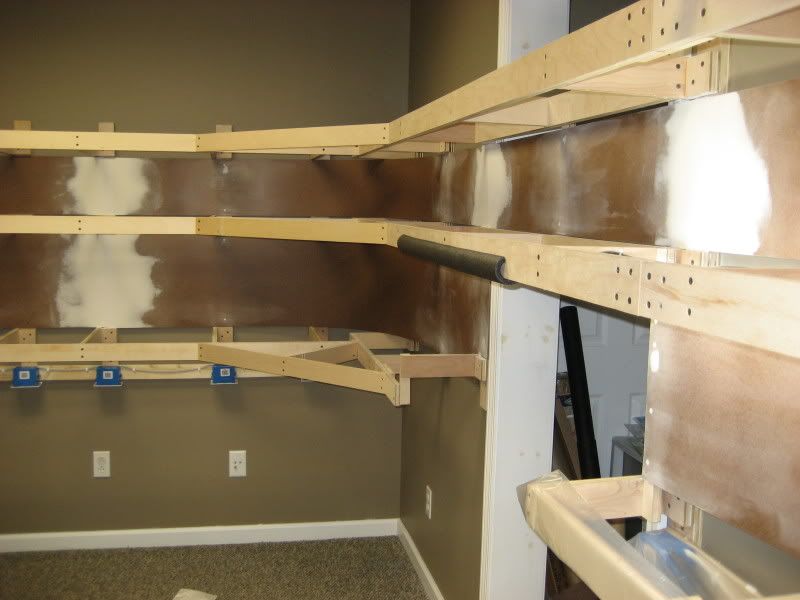
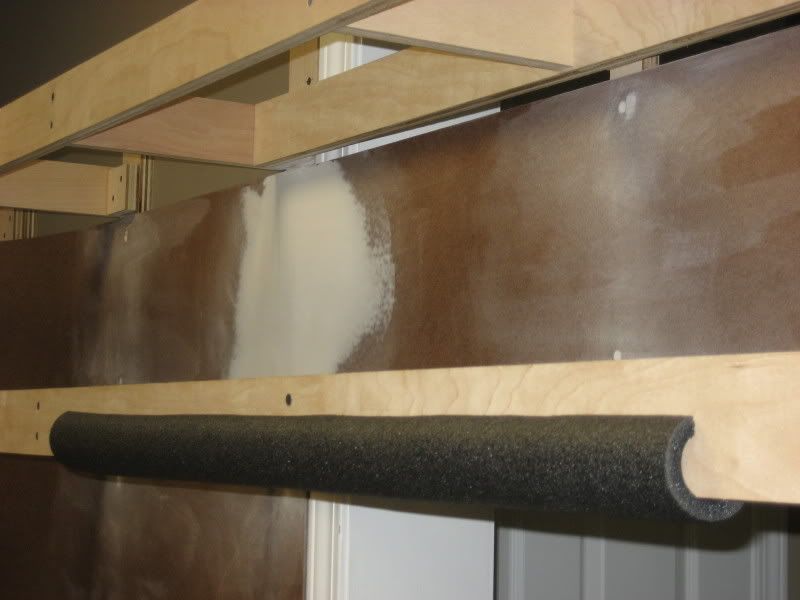
I finally installed padding along the bottom edge of the middle level benchwork where the nod-under allows access to the layout room. This padding was badly needed, but unfortunately came about 20 head injuries too late. Or maybe it was only 3? The brain damage is hampering my memory:
.

